The short answer
Landscape lighting design starts with purpose: safe paths and steps, a few features worth highlighting, and light where people sit, all planned as a system rather than scattered fixtures. Most residential systems are low voltage, running at 30 volts or less from a transformer, using LED fixtures in corrosion-resistant materials such as brass or copper, arranged in zones on timers or smart controls.
Low-voltage LED systems use little electricity; the cost is in the fixtures and installation. HomeGuide's 2026 national figures put landscape lighting at about $80 to $300 per fixture installed, or about $800 to $6,000 for a typical project. New circuits or outdoor receptacles are permitted electrical work for a licensed electrician.
Key takeaways
- Design from the view out of the house at night. Light what you want to see, and leave the rest dark.
- Fewer, well-placed fixtures look better than a runway of path lights along every walk.
- Brass and copper fixtures cost more but outlast painted aluminum in Florida humidity and sprinkler spray.
- Size the transformer with room to grow, and plan wire runs so the farthest lights are not dimmer than the nearest.
- Warm color temperatures around 2700 to 3000 kelvin suit homes and gardens and reduce glare.
Start With What You Want to See at Night
Walk out to the lanai after dark and look at the yard. Most of it disappears, and that is useful information. The goal of landscape lighting is not to make the night look like day. It is to choose a handful of things worth seeing, make movement safe, and create light where people actually sit.
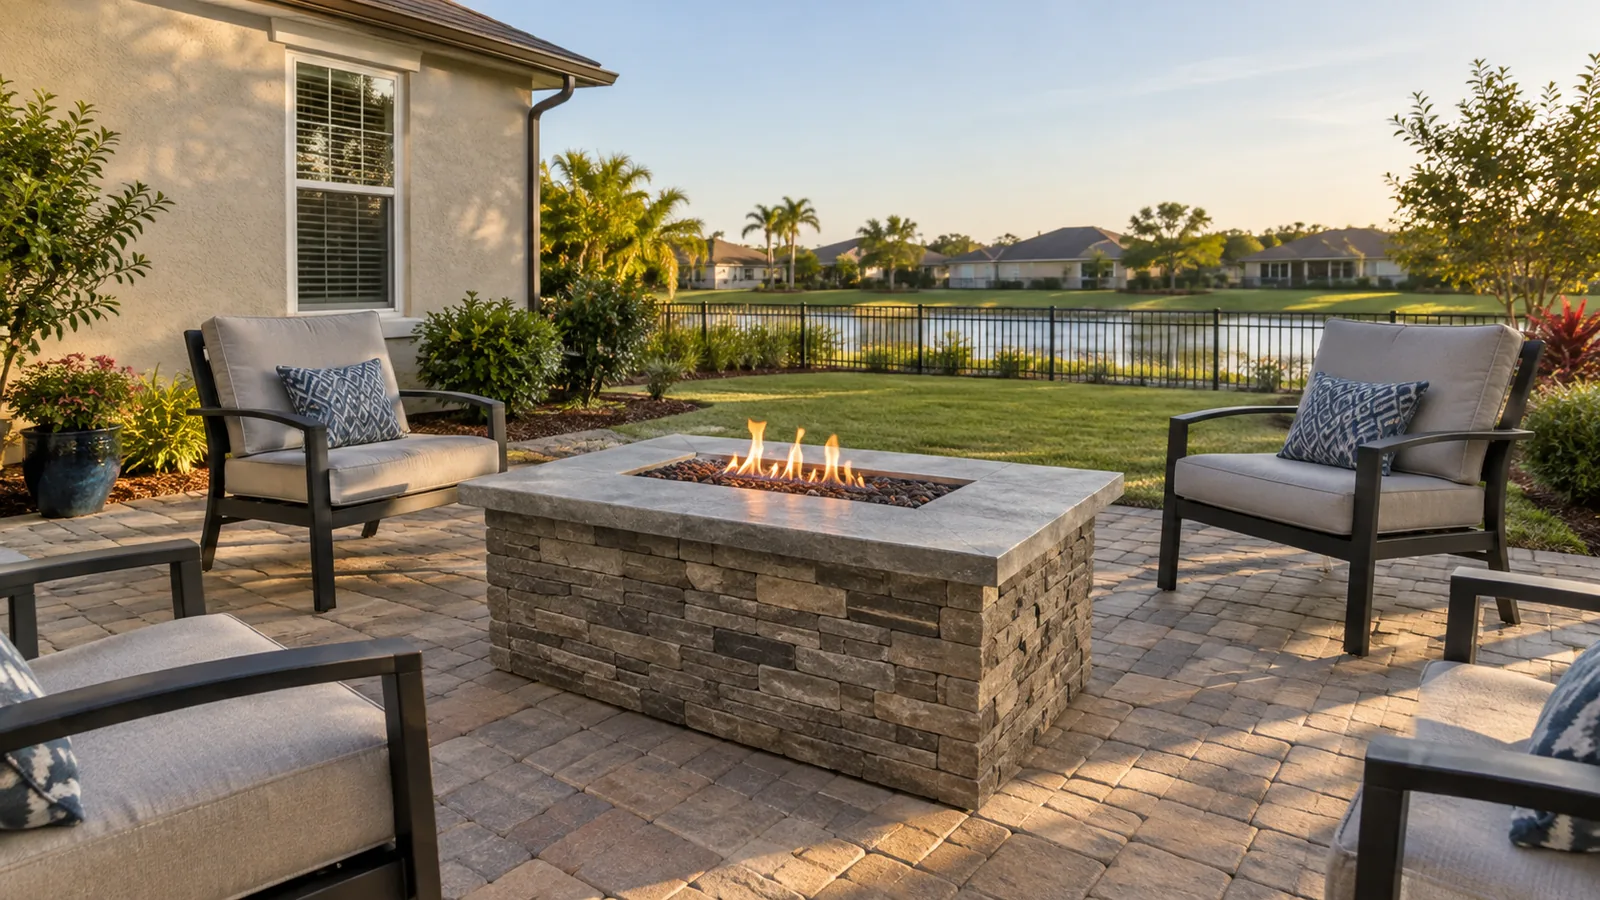
A practical design has three layers. Safety: steps, level changes, paths and the edges of the pool deck. Focus: two or three features, such as a specimen tree, a palm cluster, a textured wall or the front entry. Living: soft light for dining, a fire feature or seating areas. Everything else can stay dark, and the contrast is what makes the lit elements look good.
Path, Uplight, Downlight and Wash Techniques
Each lighting technique does a specific job.
Path lights cast light downward onto walkways and beds from a low post. Used sparingly, at turns and steps, they guide people; lined up on both sides of a walk, they look like a runway.
Uplighting places a fixture at the base of a tree, palm or wall and aims it upward, revealing texture and shape. It is the most dramatic technique and the one most responsible for glare if poorly aimed.
Downlighting mounts fixtures high, in trees or under eaves, aiming down to create soft pools of light that mimic moonlight. It is excellent for lighting larger areas without glare.
Wall washing spreads even light across a surface, such as the front of the house or a garden wall. Grazing places the light close to a textured surface, such as stone or stucco, to emphasize its relief.
Fixture Materials That Resist Corrosion
Florida is hard on outdoor fixtures: constant humidity, heavy rain, sprinklers, pool chemicals in the air near the lanai, and fertilizer and soil in contact with stakes. Material choice determines whether fixtures last many years or a few seasons.
Brass vs Aluminum Fixtures
Solid brass and copper fixtures cost more but do not rust. They develop a darker patina over time, which many owners like, and they hold up well to wet soil and sprinkler spray. Powder-coated aluminum fixtures cost less and look clean when new, but once the coating is chipped or scratched, corrosion can start underneath, especially in wet or chemical-laden conditions. Stainless steel and composite fixtures are other options with their own trade-offs.
For fixtures in beds and lawns that stay wet, and anywhere near a pool, the extra cost of brass or copper usually pays back in lifespan.
Irrigation Conflicts
Sprinklers and lights compete for the same beds. Water spraying on a hot lens can crack it, leave mineral scale that dims the light and find its way into fittings. Place fixtures outside spray patterns where possible, adjust or redirect heads near them, and keep wire and connections clear of irrigation lines during installation.
Transformer Sizing and Wire Runs
Most residential landscape lighting is a low-voltage system. Article 411 of the National Electrical Code, which Florida enforces as part of its building code, covers these systems: they operate at 30 volts or less, use an isolating transformer, and must either be a listed system or use listed components. The standard that covers the safety of landscape lighting systems is UL 1838. These rules are why reputable systems use listed transformers and fixtures rather than improvised parts.
For design, two numbers matter. The transformer’s capacity has to exceed the total wattage of the fixtures on it; a common practice is to load a transformer to no more than about 80 percent of its rating so there is headroom for adding lights later. And voltage drops along long wire runs, so fixtures at the end of a long run get less voltage than those near the transformer. Designers manage this by choosing an appropriate wire gauge, keeping runs shorter, splitting fixtures across several runs or feeding groups of fixtures from a central point. LED fixtures tolerate voltage variation better than older halogen lamps, but good wiring still keeps the whole system even.
The transformer itself needs power. If there is no suitable outdoor outlet where it will be mounted, adding one or running a new circuit is permitted work for a licensed electrician.
What Low Voltage Lighting Actually Costs to Run
LED landscape fixtures typically draw only a few watts each, which makes operating costs small compared with the cost of buying and installing the system. You can estimate your own:
| Step | Example |
|---|---|
| Fixtures and wattage | 20 fixtures × 4 watts = 80 watts |
| Hours per night | 80 watts × 6 hours = 480 watt-hours, or 0.48 kWh |
| Per year | 0.48 kWh × 365 = about 175 kWh |
| Cost | 175 kWh × your electric rate per kWh |
At an example rate of 15 cents per kilowatt-hour, that is about $26 a year; substitute the rate on your own utility bill. Transformer losses add a little. The takeaway is that the running cost of a modest LED system is minor, and timers or smart controls reduce it further.
Smart Control and Zones
Zones let different parts of the system behave differently: path and step lights on from dusk to late evening, feature lighting for a few hours, lanai and dining lights only when you are outside. Astronomical timers adjust to changing sunset times through the year. Smart transformers and controllers add app control, scenes and dimming, and some integrate with home automation.
Plan zones before installation, because they are defined by how the wiring is run. Adding a zone later can mean new wire runs.
Color Temperature Choices
Color temperature describes how warm or cool light appears, measured in kelvin. Warm light around 2700 to 3000 kelvin flatters stucco, stone, wood and plants and feels comfortable near a home. Cooler light above 4000 kelvin can look harsh in a garden. DarkSky International, which promotes responsible outdoor lighting, recommends warm light of 3000 kelvin or lower and fully shielded fixtures to reduce glare and light pollution.
Lighting the Pool Deck and Lanai Safely
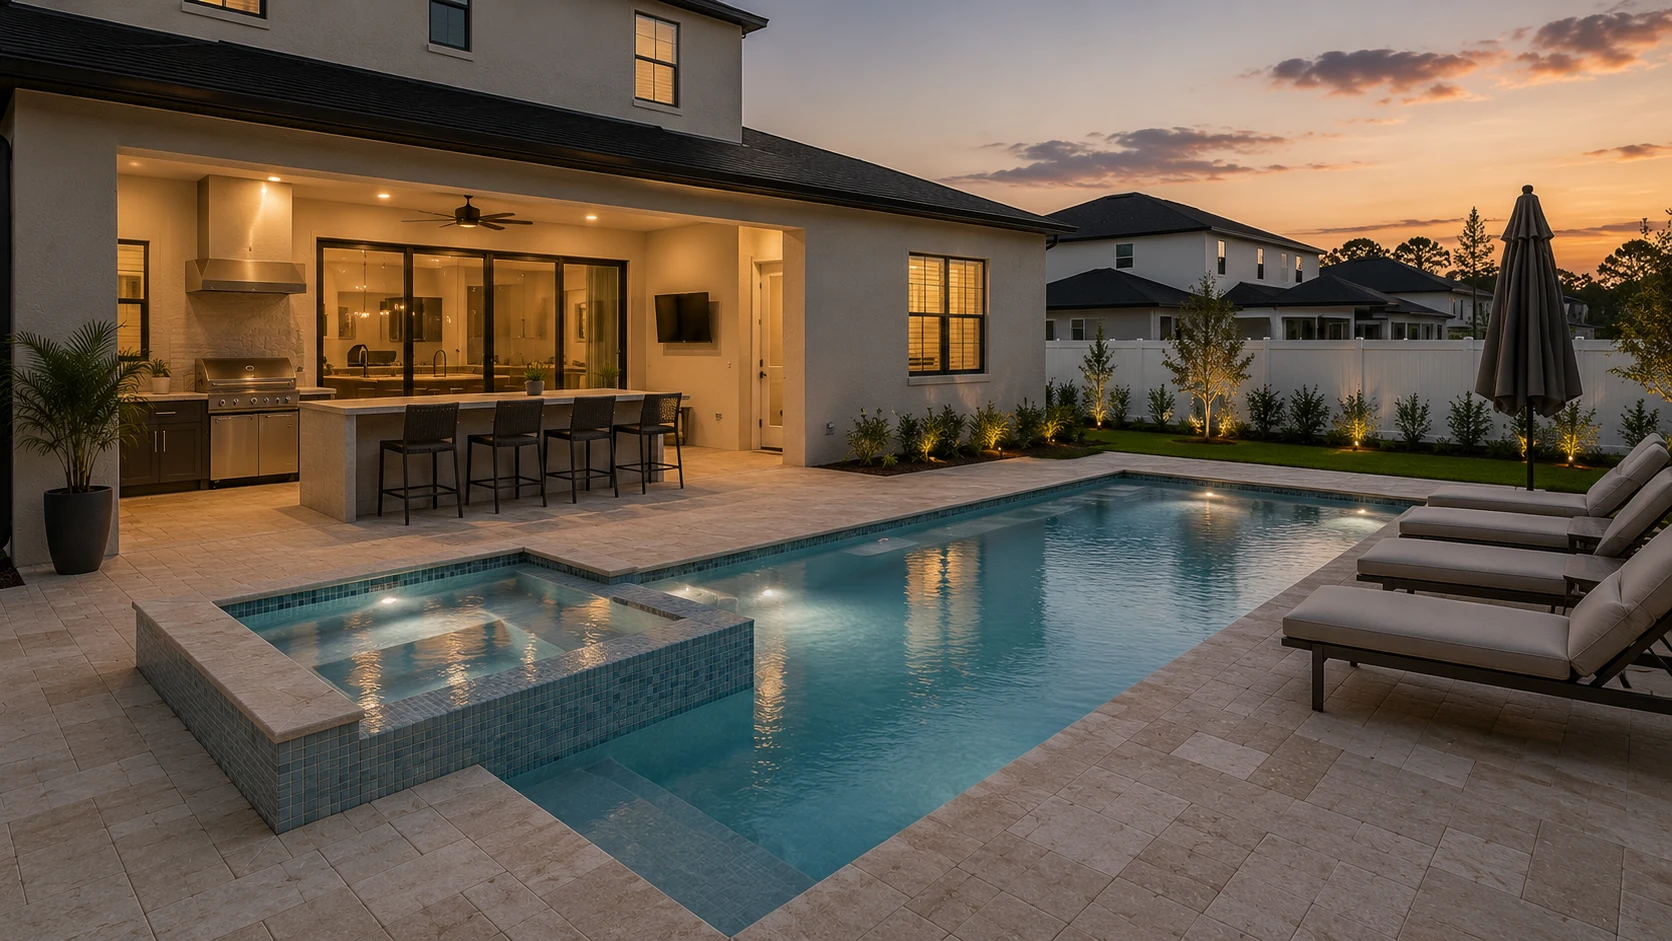
Around the pool and lanai, lighting is first about safety: steps, deck edges, the path from the house to the pool and any change in level should be visible at night. Low, shielded fixtures and step lights do this without glare in swimmers’ eyes.
Lighting inside the pool is a separate system with its own electrical requirements under the code for swimming pools, and it is designed and installed with the pool; how it fits into a new pool is part of planning a custom pool. Any lighting near the water should be selected and installed with those requirements in mind, which is work for a licensed electrician.
Under covered structures, recessed and fan lights are part of the lanai itself, and the choice between pergolas, louvered roofs and insulated covers decides where those fixtures can go.
Security vs Ambiance
Security lighting and landscape lighting are different tools. Security lighting aims to eliminate hiding places near entries and dark corners, often with motion-activated fixtures that turn on only when needed. Ambient landscape lighting uses contrast and shadow for appearance.
Bright, constant floodlights reduce the effect of ambient lighting and often shine into neighbors’ windows. A balanced plan uses motion-activated lights for security at doors, the garage and side yards, and softer, controlled lighting for the landscape and gathering areas.
Cost by Fixture Count
HomeGuide’s 2026 cost data puts landscape lighting at about $80 to $300 per fixture installed, or about $800 to $6,000 total on average. Cost scales with the number of fixtures, fixture material (brass and copper cost more), the length of wire runs, the transformer and control system, and whether new electrical service is needed. These national ranges are only a starting point for a budget; fixture quality, wire runs, transformer size and the number of zones make a real design cost more or less.
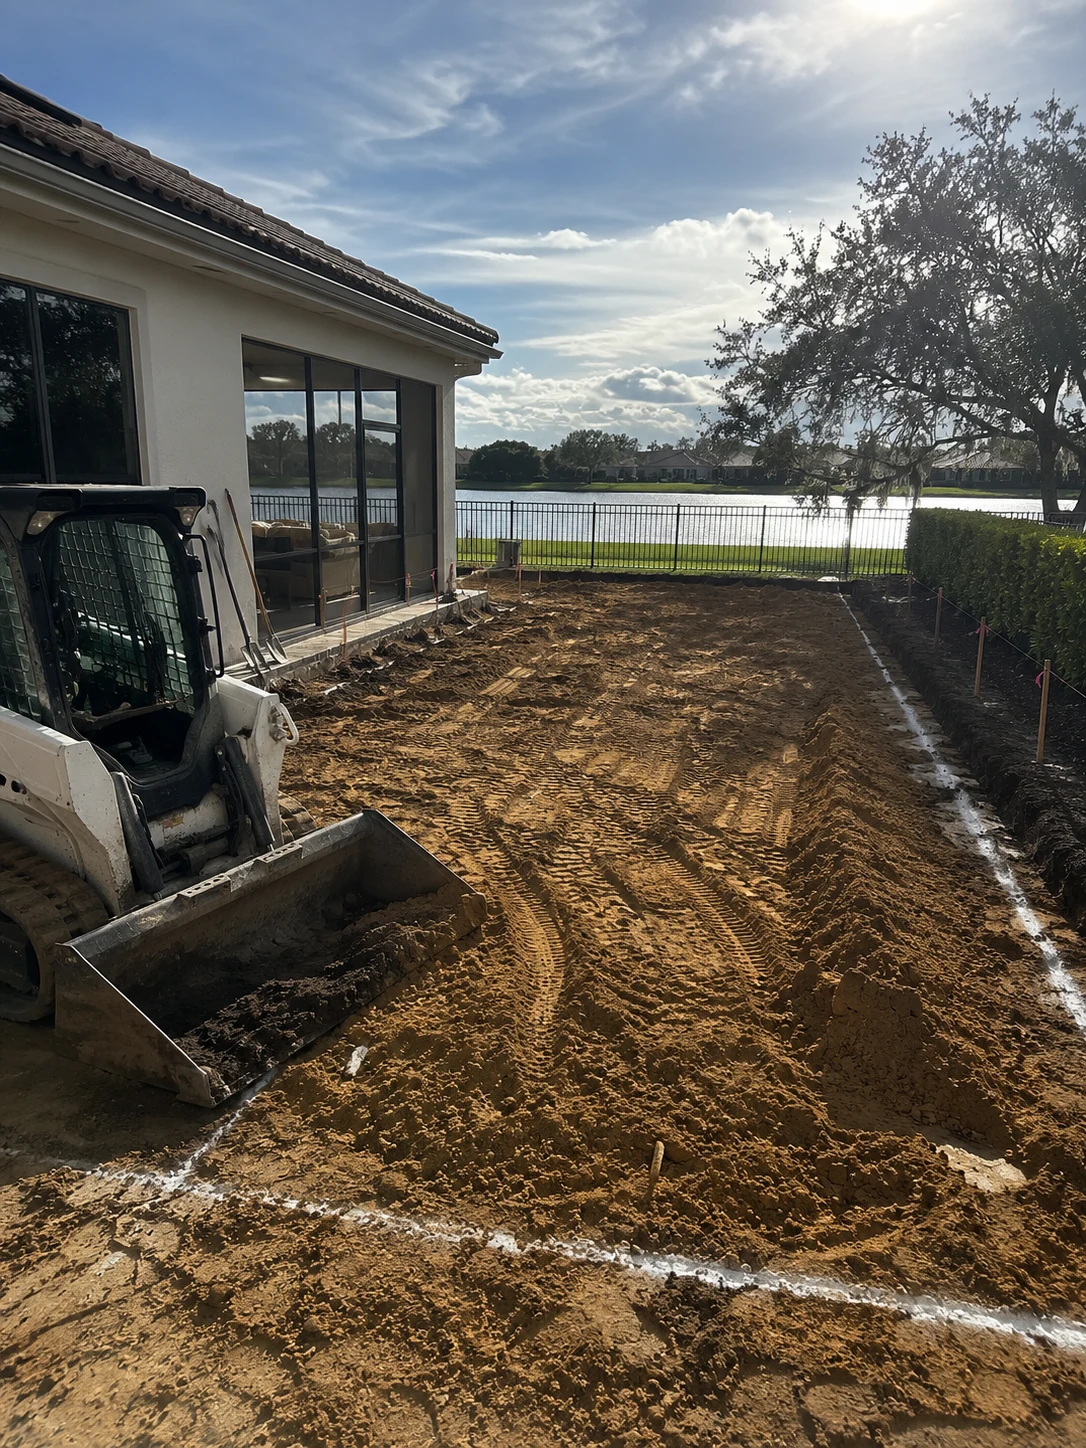
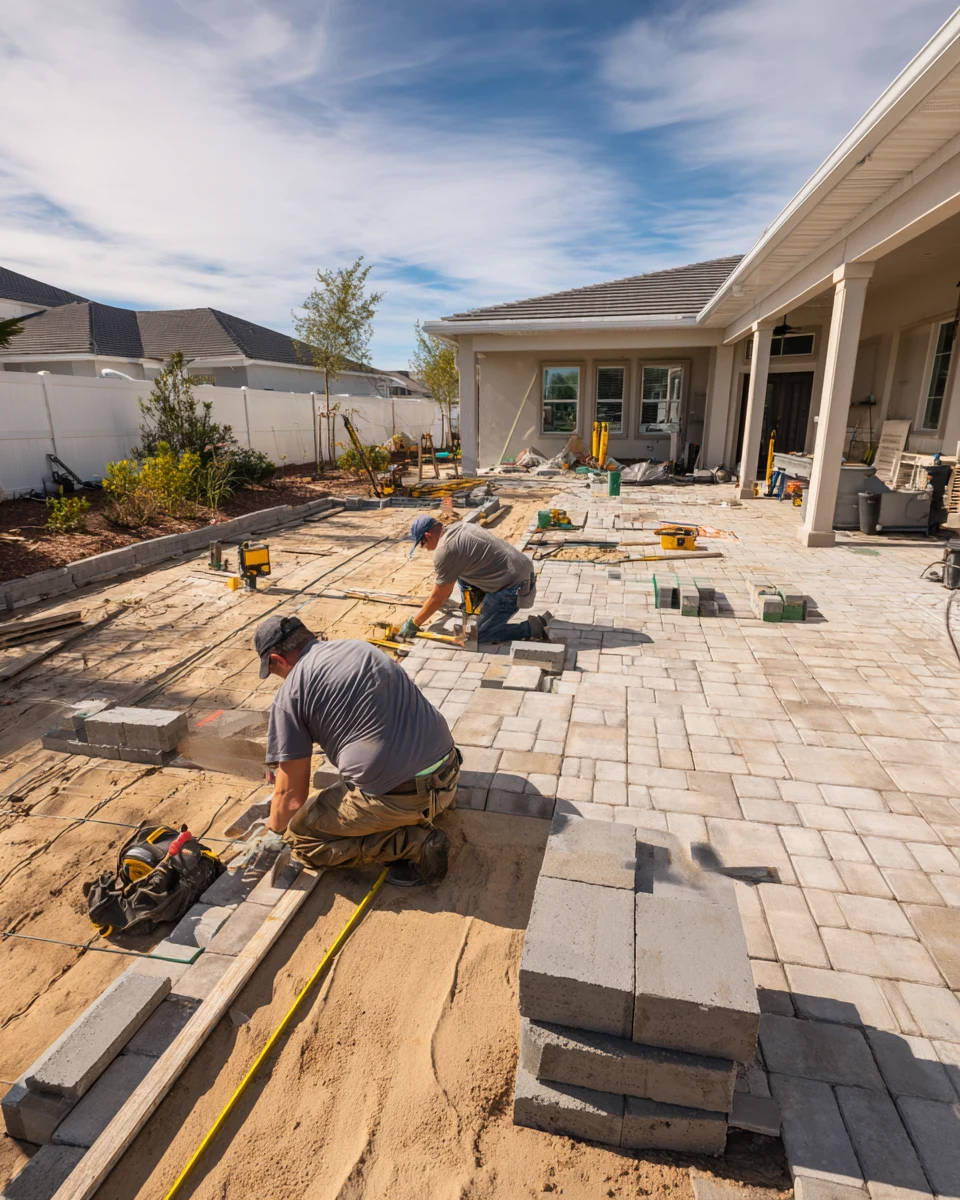
Starting small is reasonable: a well-designed first phase lighting the entry, a feature tree and the path to the lanai can be expanded later if the transformer and wiring were planned with room to grow. Paving and lighting are also best planned together, because wire and conduit are far easier to run before a paver patio is laid than after.
Lighting works best when it is designed together with the spaces it serves. Our outdoor living team plans lighting as one system with the lanai, paving and landscape, so the fixtures, zones and power are decided before the first trench is dug.
Share this article