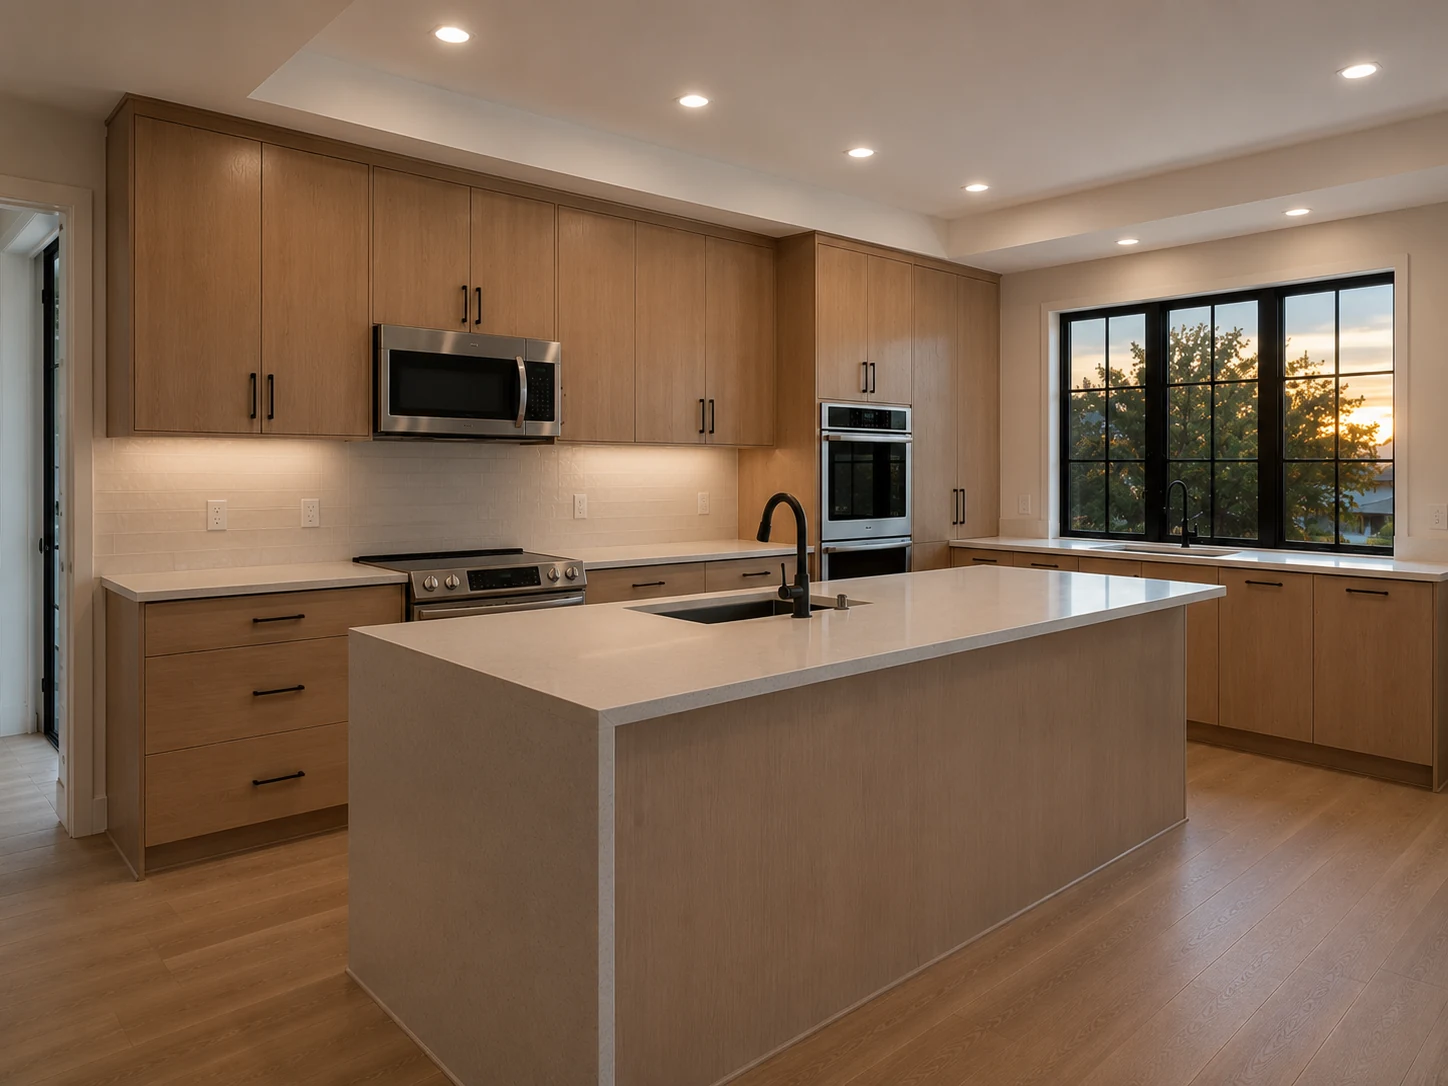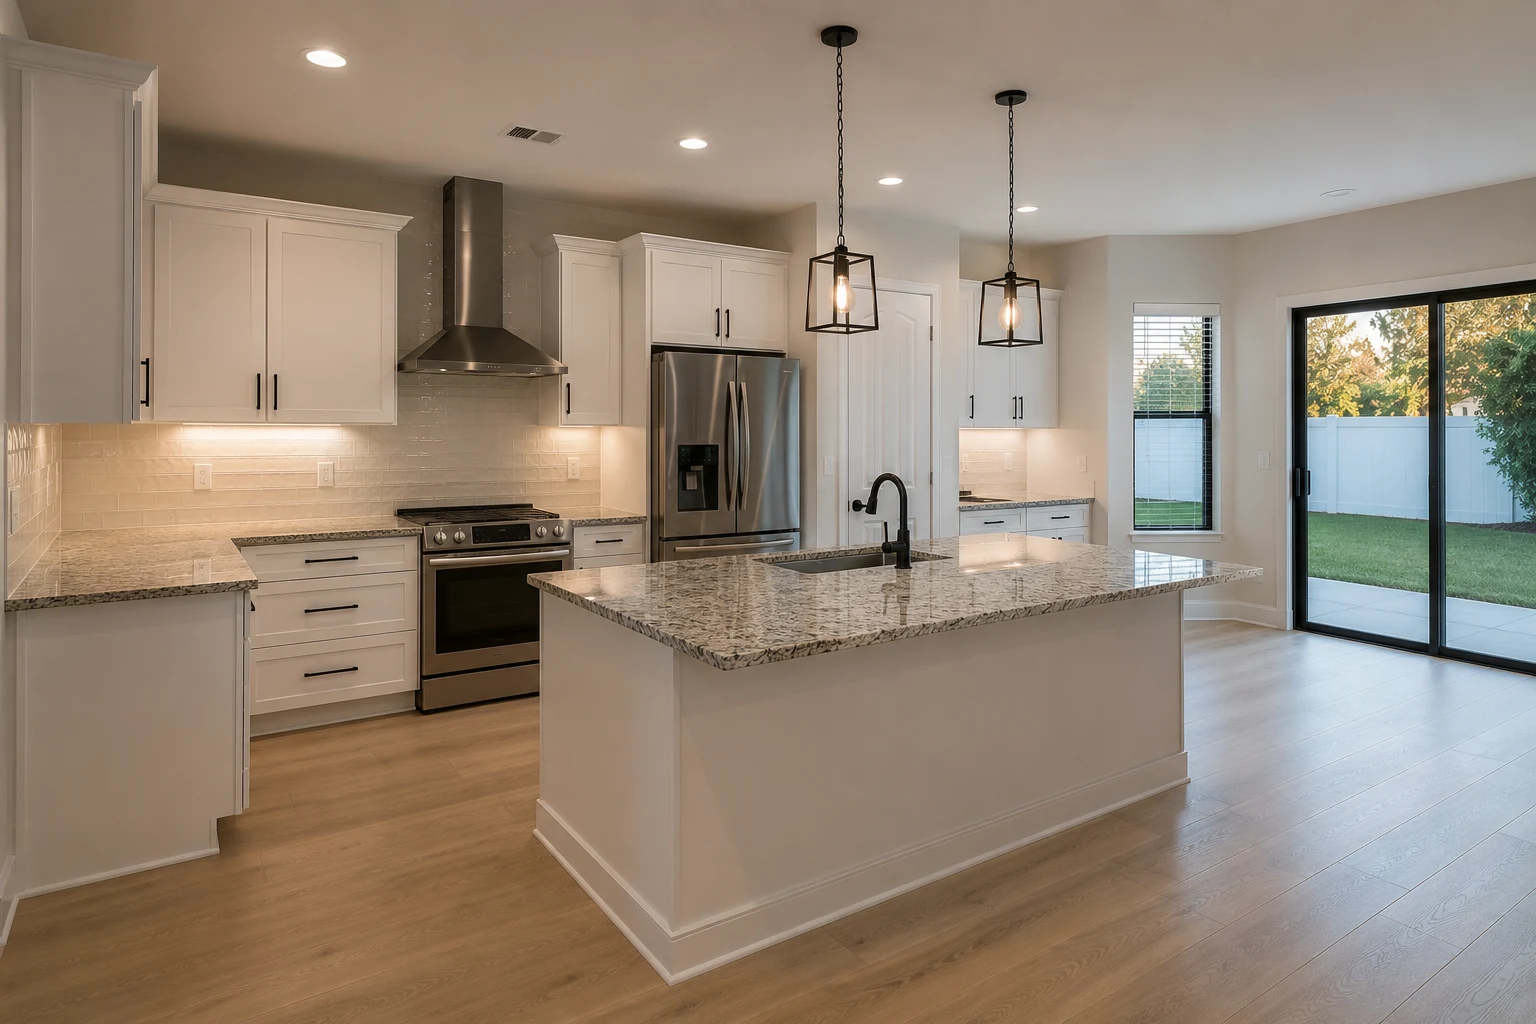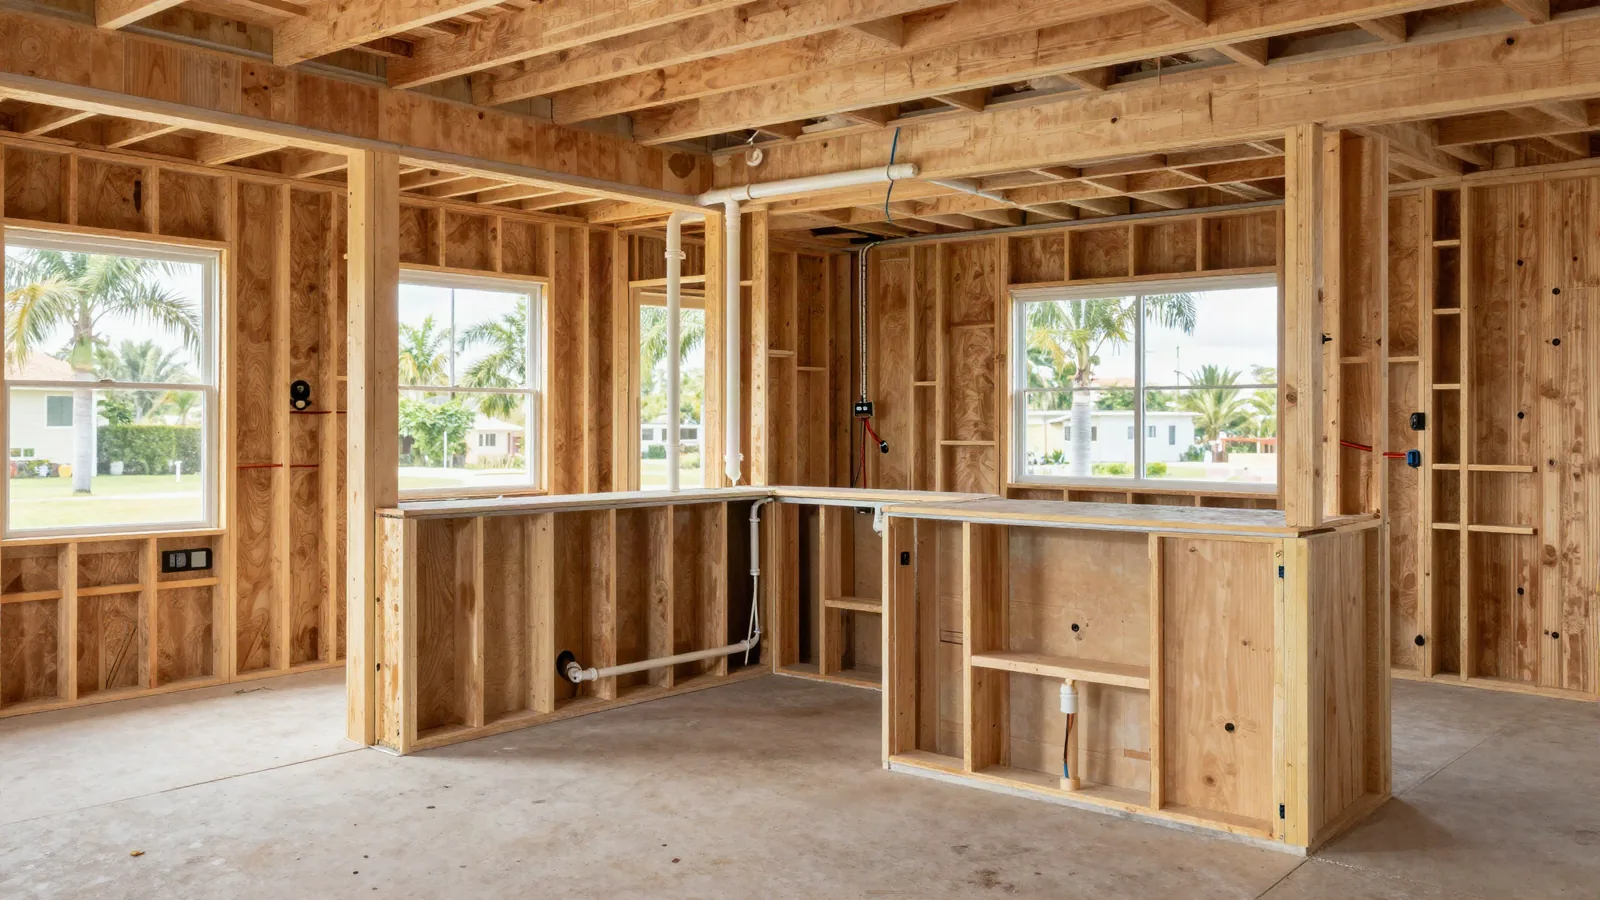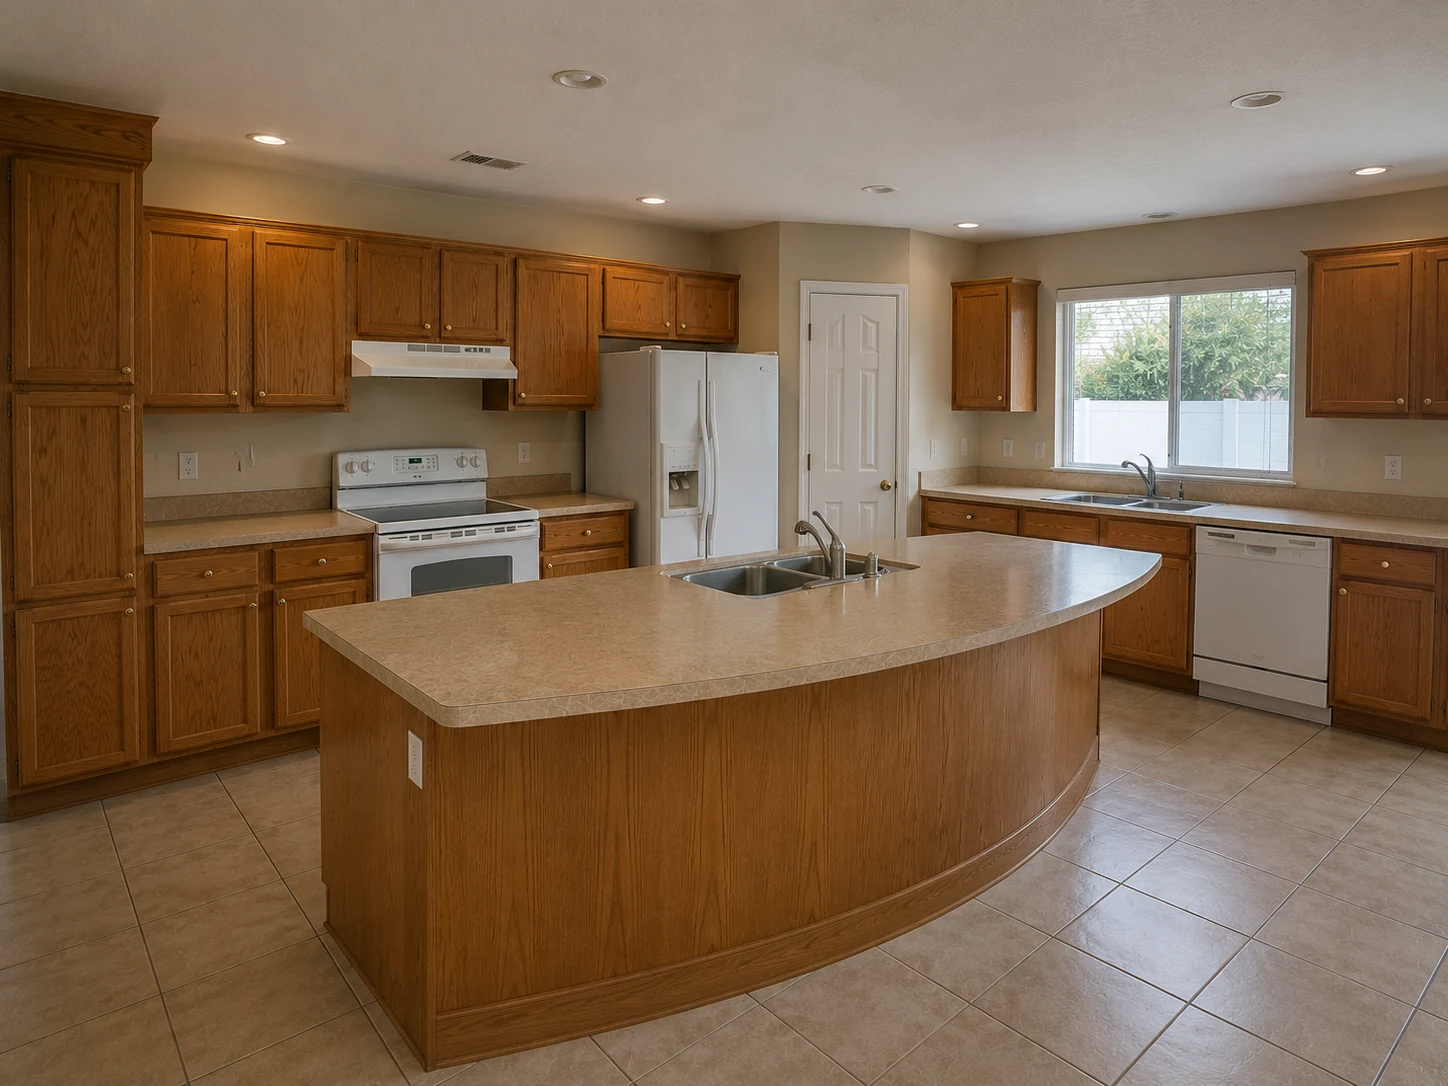
The short answer
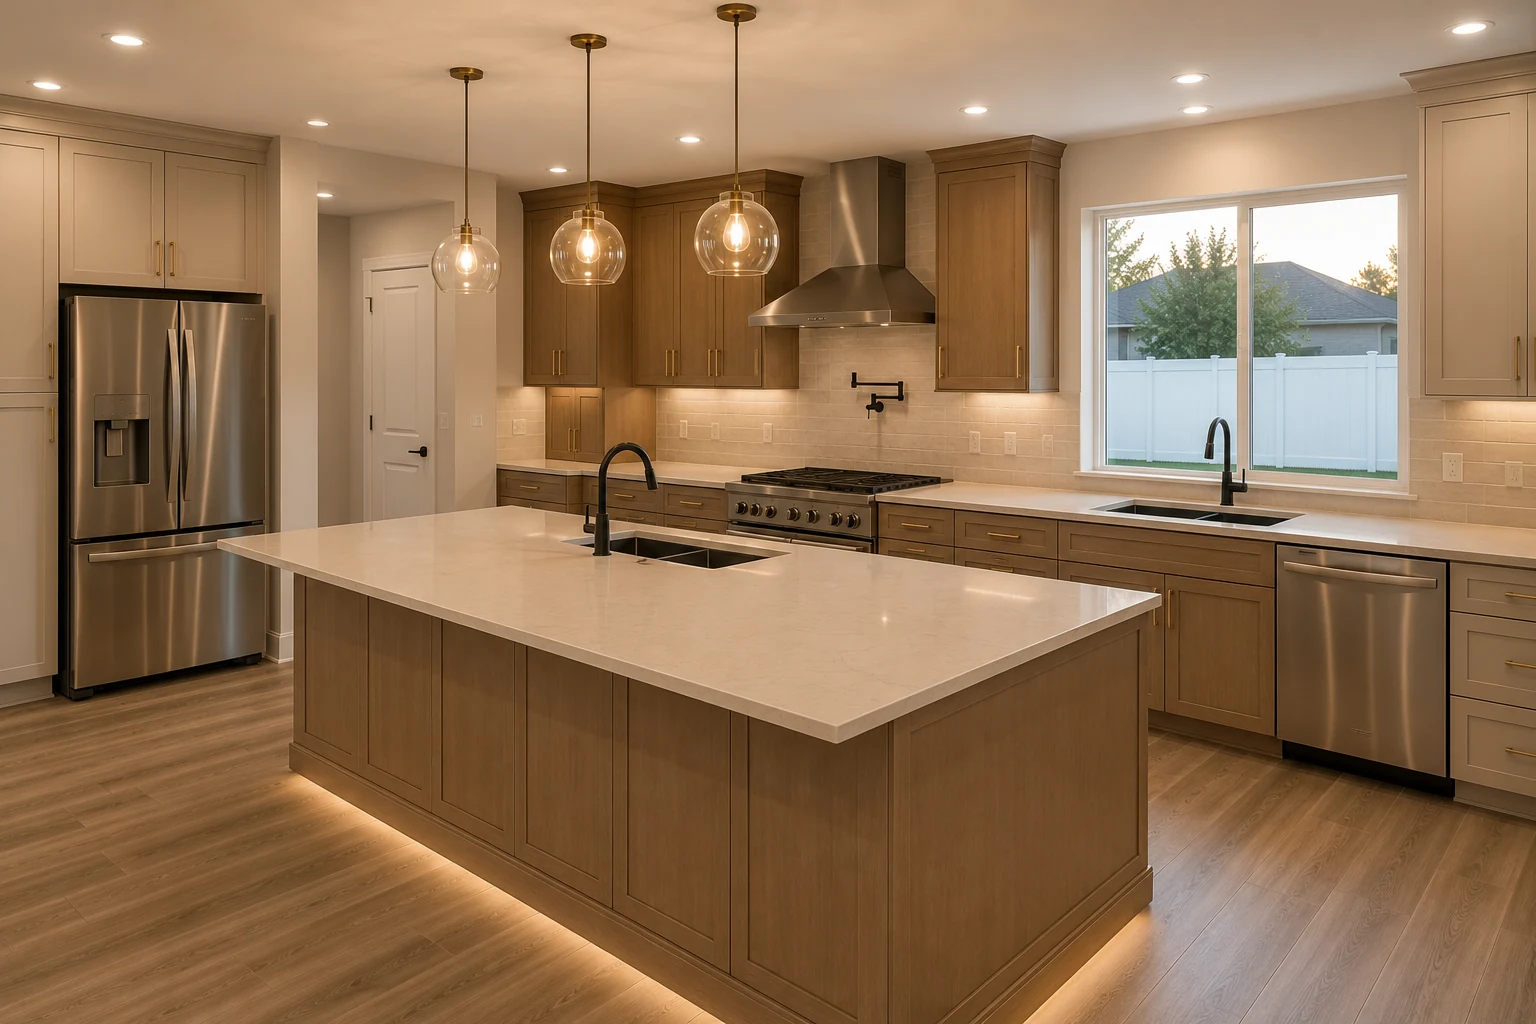
Good kitchen lighting combines three layers: ambient light that fills the room, usually recessed fixtures; task light on the counters and island, from under-cabinet fixtures and pendants; and accent light inside glass cabinets, above cabinets or at the toe-kick. Each layer on its own switch or dimmer lets the kitchen shift from bright work light to a softer evening setting.
Warm to neutral white, commonly around 2700K to 3000K, suits most kitchens that open to living areas, and a high color rendering index shows food and finishes accurately. Florida's energy code requires permanently installed fixtures to meet minimum efficacy levels. Because fixtures, boxes and switches are wired during rough-in, the lighting plan needs to be settled before walls and ceilings close.
Key takeaways
- A single central fixture lights the floor and leaves the counters in your own shadow.
- Under-cabinet lighting mounted toward the front of the cabinet puts light on the counter instead of the backsplash.
- Pendant height and spacing depend on the island and the people using it; rules of thumb are starting points.
- Consistent color temperature across fixtures matters more than any single fixture choice.
- Separate switching for each layer is cheap during rough-in and expensive afterwards.
Why One Ceiling Light Falls Short
A kitchen lit by one fixture in the middle of the ceiling has a predictable problem: when you stand at the counter, your head and shoulders block the light, and you work in your own shadow. Wall cabinets add more shadow on the counter below them. The room may look bright from the doorway and still be poor for cutting, reading a recipe or cleaning.
Layered lighting solves this by using different sources for different jobs:
- Ambient light makes the whole room visible and safe to move through.
- Task light puts focused light on work surfaces: counters, the sink, the cooktop and the island.
- Accent light adds depth and atmosphere, highlighting cabinets, shelves or architecture.
Each layer is useful alone, and together they let the kitchen be bright for work and soft in the evening, which matters more in open kitchens that share space with living areas.
Ambient Layer: Recessed Placement
Recessed lights are the most common ambient source in modern kitchens because they spread light without hanging into the room. Good placement follows the working areas rather than a strict grid: fixtures positioned over the front edge of the counters, not in the middle of the walkway, put light where people stand and reduce shadows.
Other ambient sources include flush ceiling fixtures, cove lighting and light reflected off the ceiling from above cabinets. In kitchens with dropped beams or soffits, ambient layout has to work around them.
Recessed Spacing Rule of Thumb
A common starting point for spacing general recessed lights is roughly half the ceiling height between fixtures, so an 8-foot ceiling suggests fixtures about 4 feet apart, adjusted for beam spread, fixture output and the room’s shape. Fixtures along counters are often placed about 2 to 3 feet out from the wall so light falls on the counter edge rather than on the upper cabinet doors. These are rules of thumb; a lighting layout drawn for the actual fixtures and room is more reliable.
Task Layer: Under-Cabinet and Island
Task lighting is where layered kitchens earn their keep. Under-cabinet fixtures light the counters directly below wall cabinets. Pendants or recessed fixtures over the island light that work surface. A light in the range hood covers the cooktop, and a fixture over the sink handles cleanup.
Puck vs Linear Under-Cabinet
Puck lights are small round fixtures spaced along the underside of cabinets. They are simple but can create pools of light with darker gaps between them, which show on glossy countertops and backsplashes.
Linear fixtures, including LED strips in channels and slim light bars, spread light evenly along the counter. They generally give a more uniform result and fewer hot spots.
In either case, mounting toward the front of the cabinet bottom puts light on the counter and reduces glare off the backsplash. A light rail or recessed cabinet bottom hides the fixture from view when seated.
Pendant Height Over Islands
Pendants hang over islands and peninsulas as both task light and a focal point. A common guideline places the bottom of pendants roughly 30 to 36 inches above the countertop, adjusted so they do not block sightlines across the room or hit tall people. Spacing depends on the island length and the pendant size; two or three pendants are common, often centered on the island with even gaps between them and at the ends.
Pendants alone may not light the whole island evenly, especially with decorative shades, so recessed lights or a linear fixture often supplement them. Island size, seating and the location of a sink or cooktop all affect where pendants should go, which is why they are placed after the island’s size and layout are fixed.
Accent Layer: Interior and Toe-Kick
Accent lighting adds atmosphere and a sense of depth:
- Interior cabinet lights in glass-front cabinets show off dishes and glassware.
- Above-cabinet lighting washes the ceiling with indirect light where cabinets do not reach it.
- Toe-kick lighting under base cabinets and islands creates a low glow that doubles as a night light.
- Shelf lighting highlights open shelves or a coffee station.
Accent layers are usually low in output and look best on dimmers, and they are easy to include when planned with cabinets, since some require channels or wiring inside the boxes.
Color Temperature and CRI
Color temperature, measured in kelvins, describes how warm or cool white light appears. Lower values, around 2700K, look warm and similar to incandescent light; around 3000K is warm-neutral; 4000K and above appears cooler and whiter. Many kitchens that open onto living spaces use 2700K to 3000K so the kitchen matches the rest of the house. What matters most is consistency: mixing color temperatures between recessed lights, pendants and under-cabinet fixtures makes surfaces look patchy.
Color rendering index, or CRI, describes how accurately a light source shows colors compared with a reference source. Higher CRI, often 90 or above in quality LED products, makes food, wood, stone and paint colors look natural. Low-CRI lighting can make white cabinets look gray or countertops look off-color.
Florida’s energy code also sets a baseline for fixtures: permanently installed luminaires, other than those in kitchen appliances, must meet minimum efficacy levels in lumens per watt, a requirement that current LED fixtures generally meet.
Dimming and Control Zones
Separate control for each layer lets the kitchen change with the time of day. A typical scheme includes separate switches or dimmers for recessed ambient lights, under-cabinet task lights, pendants and accent lights. Open kitchens benefit from dimmers on everything visible from the living area.
Compatibility matters with LED fixtures: dimmers need to be matched to the fixtures or their drivers, or lights may flicker, buzz or not dim smoothly. Smart switches and scenes add convenience, and some require a neutral wire at the switch box, which is easiest to provide during rough-in.
Lighting for Different Kitchen Layouts
Layouts change where each layer matters most:
- Galley kitchens need even light along both runs, usually a line of recessed lights over each counter edge plus under-cabinet lights, since people work with their backs to the other side.
- L- and U-shaped kitchens need attention at the corners, where under-cabinet fixtures often leave dark spots, and a fixture over the sink.
- Kitchens with islands add pendants or recessed task lights over the island and ambient light for the walkway around it.
- Open kitchens share light with the living area, so dimming and consistent color temperature between the two spaces matter more.
Ceiling height and cabinet height also play a part: tall ceilings may call for more output or pendants, and cabinets that run to the ceiling remove the option of above-cabinet lighting.
Fixtures, Drivers and Maintenance
LED fixtures come in two forms: integrated fixtures, where the light source is built in, and fixtures that take replaceable LED lamps. Integrated fixtures are slim and efficient but are replaced as a unit when they fail. Replaceable lamps allow simple changes. Under-cabinet and strip lighting use drivers or power supplies, which should be placed where they can be reached later rather than sealed behind a backsplash. Choosing fixtures from a consistent product line makes it easier to match color and output if one needs replacing.
Common Placement Mistakes
A few errors show up repeatedly in kitchen lighting:
- Recessed lights centered in the walkway instead of over the counters.
- Under-cabinet fixtures mounted at the back, lighting the backsplash rather than the counter.
- Pendants hung too high to light the island or too low to see across.
- Mixed color temperatures between fixture types.
- No task light over the sink.
- All lights on one switch.
- Fixtures placed without accounting for the range hood, cabinets that reach the ceiling or a beam.
Most of these are easy to avoid when the lighting layout is drawn with the cabinet plan.
Electrical Planning Before Drywall
Every layer depends on wiring and boxes placed before walls and ceilings are closed: ceiling boxes for pendants centered on the island, power for under-cabinet fixtures inside the wall behind the backsplash, switch locations at entries and near the island, and space for dimmers and control devices. Adding these after drywall and tile means cutting finished surfaces.
New circuits, fixtures in new locations and changes to switching are electrical work performed by a licensed electrician, typically under a permit, alongside the other trades described in what needs a permit in a kitchen.
A range hood’s own lights and power also belong in the plan, since the hood’s size and position affect nearby fixtures, as explained in sizing and venting a range hood.
Lighting drawn at the same time as cabinets, appliances and the island is one of the quieter advantages of a planned kitchen remodeling project: each layer ends up wired where it will actually be used.
Share this article