The short answer
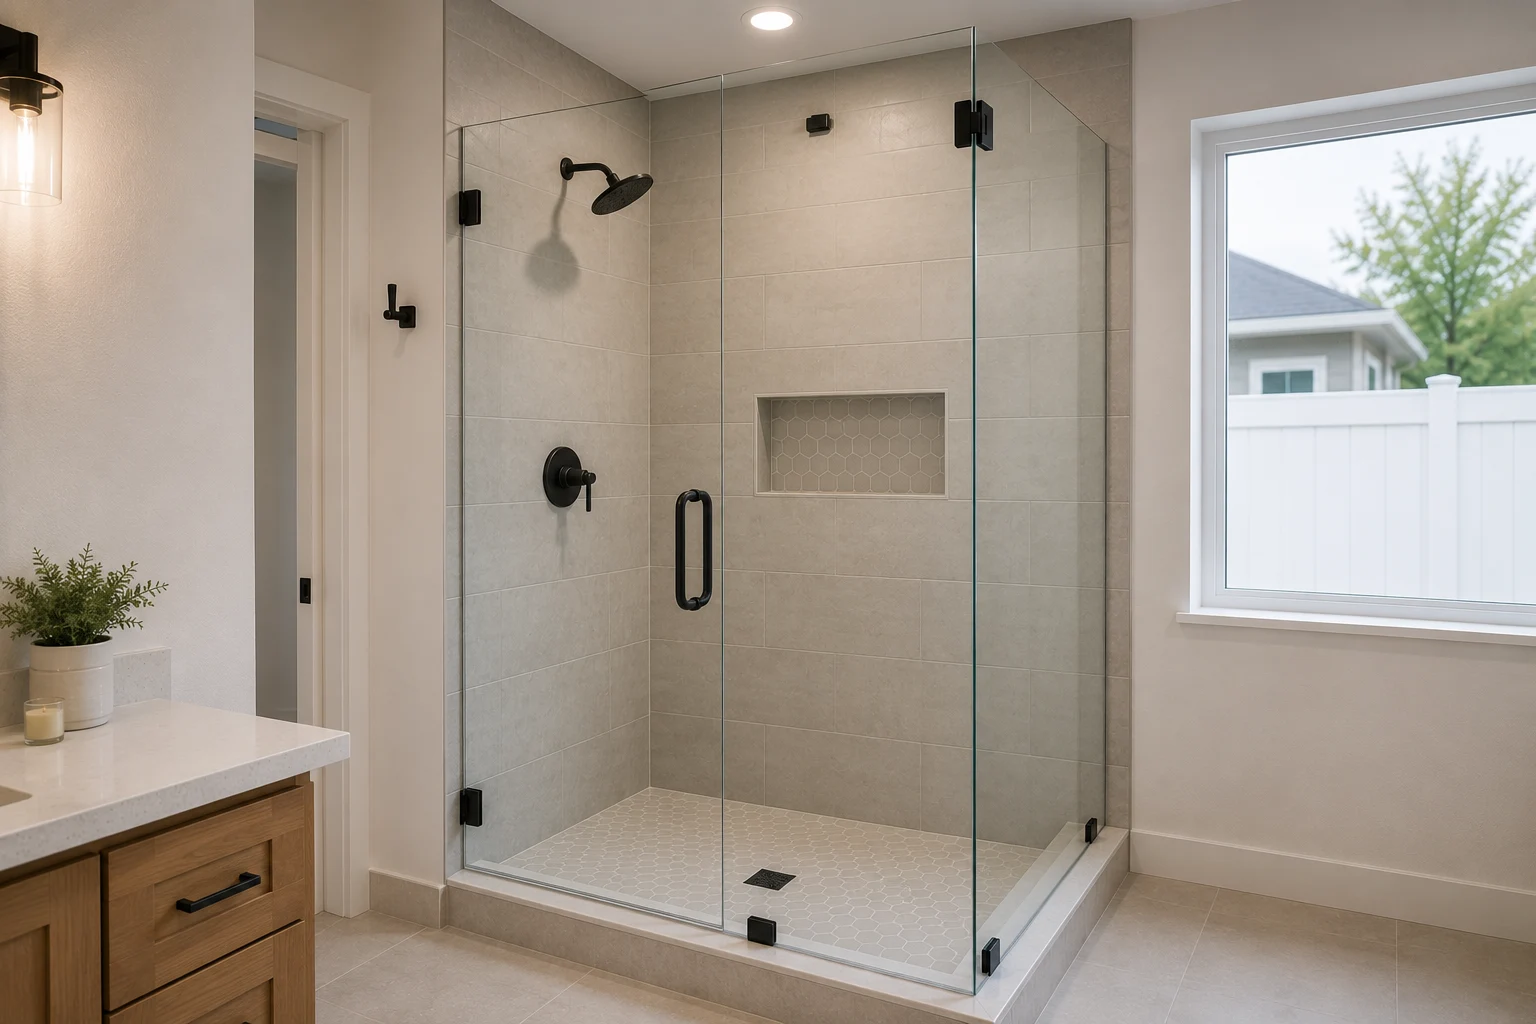
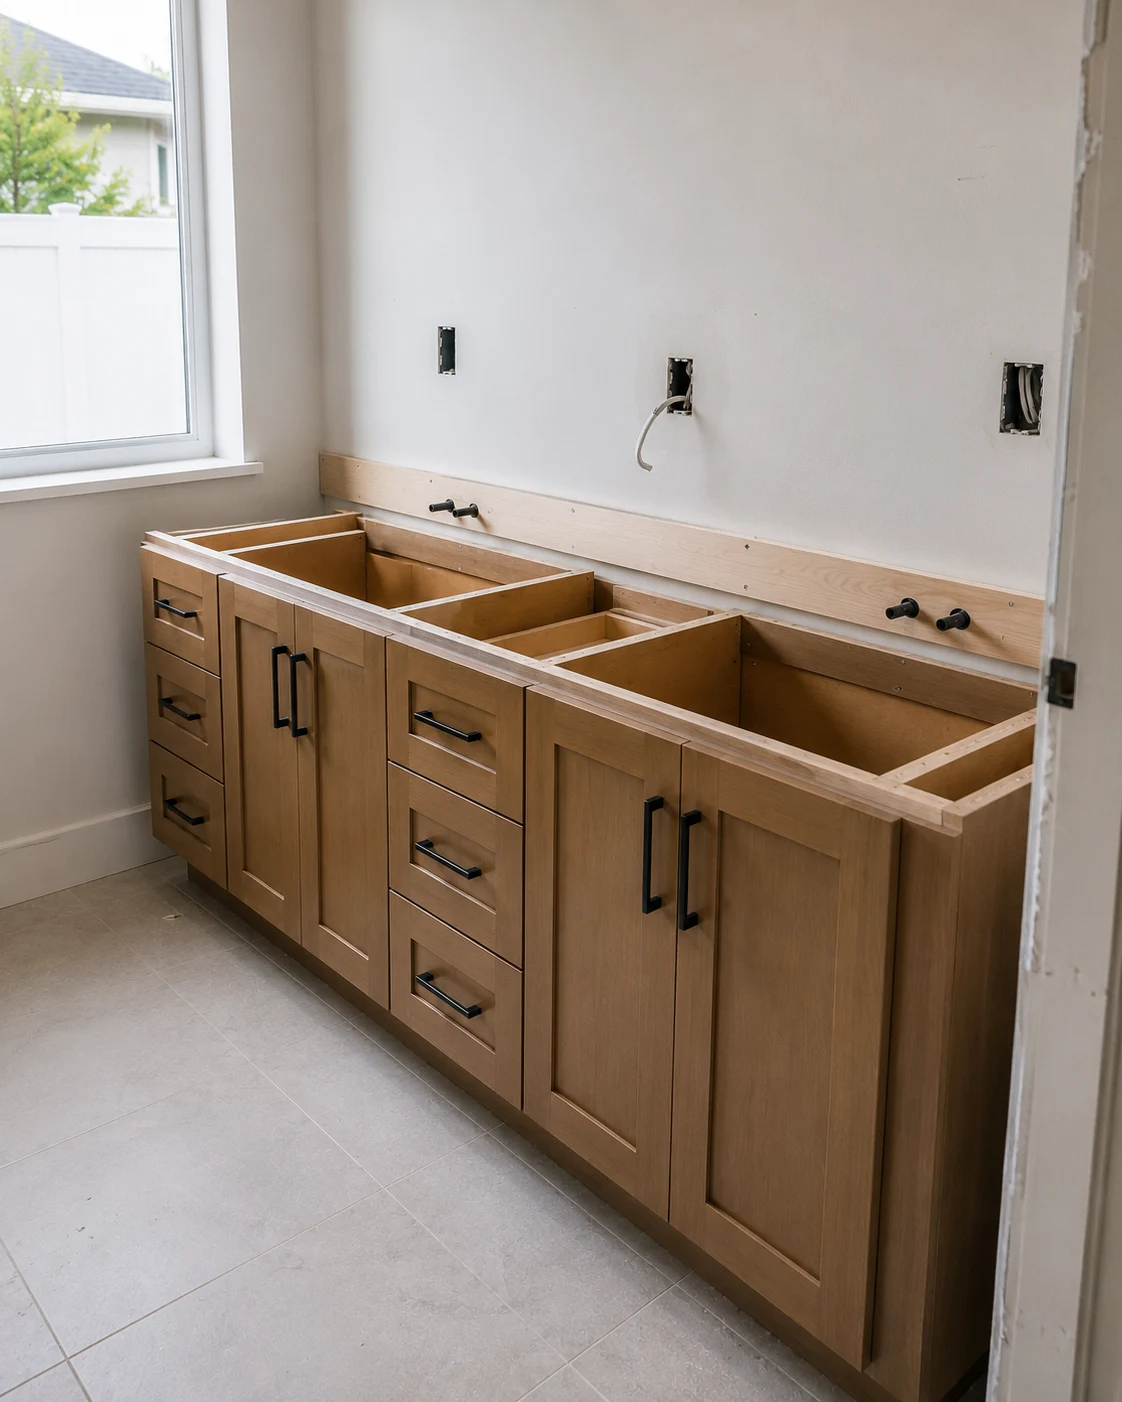
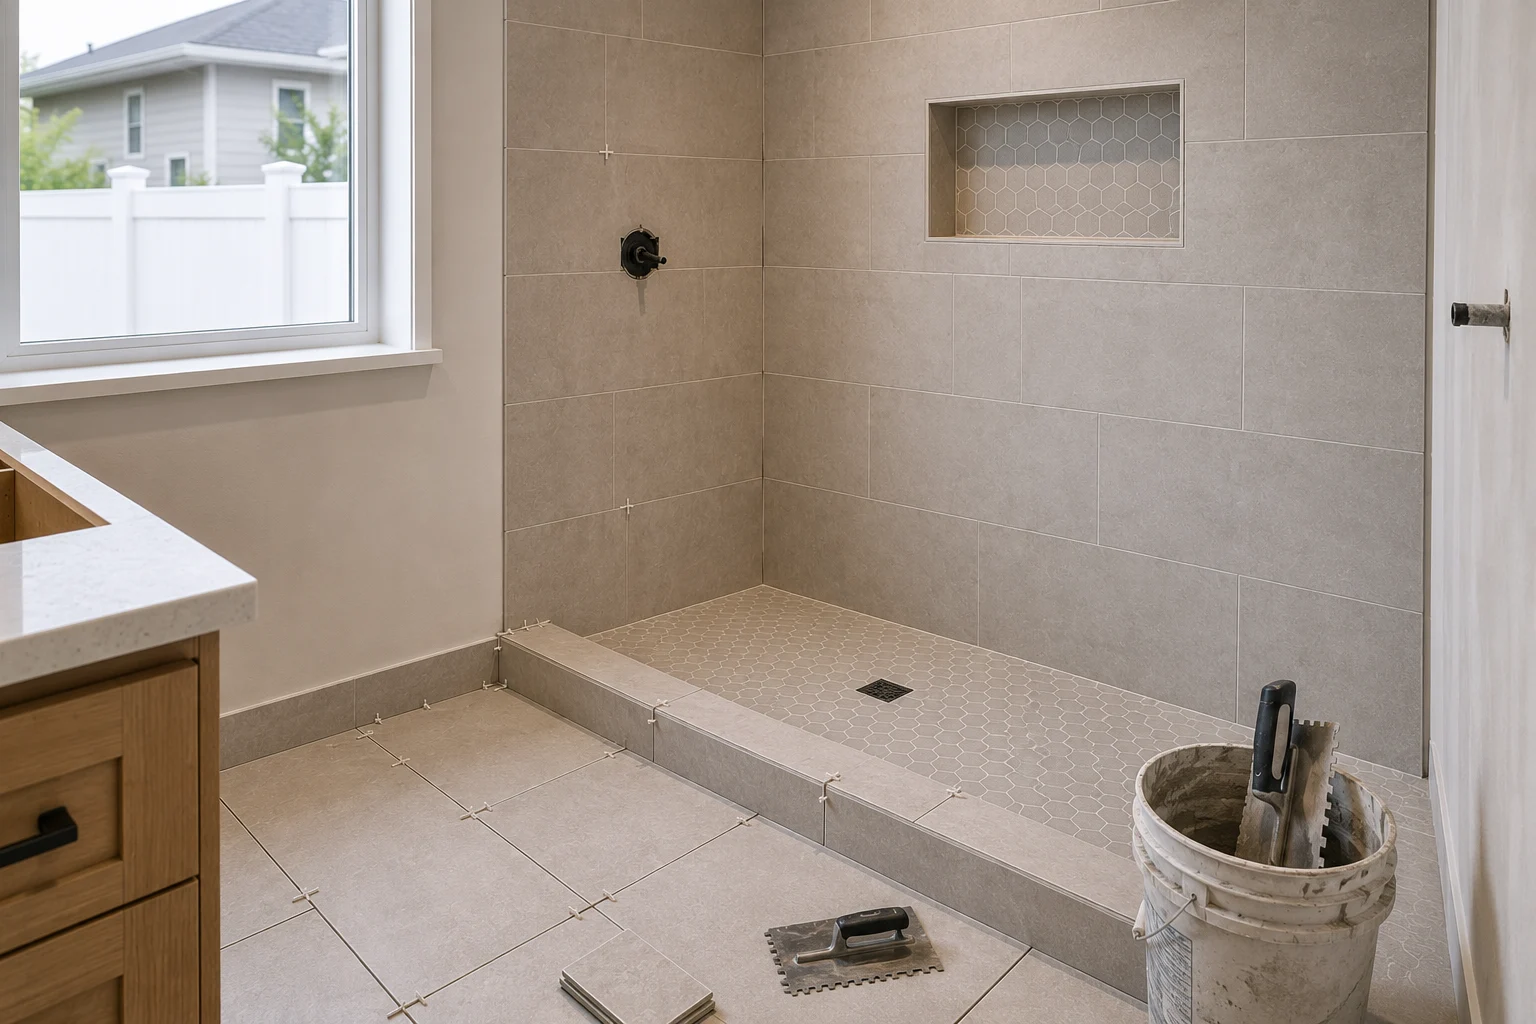
Inside showers, Florida's residential code requires a smooth, nonabsorbent wall finish to at least 6 feet above the floor, so shower tile commonly runs to about 7 feet or to the ceiling. Outside the shower, tile height is a choice: a backsplash behind the vanity, wainscot around the room, full-height accent walls or tile to the ceiling. Each step up adds material and labor, and changes where the tile has to stop cleanly.
Larger tiles mean fewer grout lines but demand flatter walls and floors to avoid uneven edges. Grout color, epoxy grout in wet areas, niche placement, movement joints at corners and a clean transition to painted drywall are the details that make any height look deliberate.
Key takeaways
- Shower walls need a nonabsorbent finish at least 6 feet high by code; many showers go higher or to the ceiling.
- Tile height is a budget lever: the jump from wainscot to full height roughly multiplies wall tile area.
- Tile does not waterproof a wall. The membrane behind it does, and it should extend at least as high as the shower tile.
- Large-format tiles need flat substrates and offset limits to control lippage.
- Inside corners and changes of plane need movement joints with sealant, not grout.
What Each Height Costs
Wall tile is priced by area and complexity, so height choices move the budget directly. The common options, from least to most tile:
| Typical use | Tile area | Look | |
|---|---|---|---|
| Backsplash only | Behind the vanity | Small | Minimal, painted walls elsewhere |
| Wainscot, about 36 to 48 inches | Around the room | Moderate | Traditional, protects lower walls |
| Shower only to ceiling | Shower walls | Moderate | Tall shower, painted room |
| Full-height feature wall | Behind vanity or tub | Moderate to large | A focal wall |
| Full height throughout | All walls | Largest | Spa-like, easy to clean |
Taller tile means more material, more cutting around windows, outlets and fixtures, more trim pieces and more labor. The difference between tiling a shower to 7 feet and to the ceiling is usually small; the difference between a painted bathroom and one tiled floor to ceiling on every wall is large.
Where Tile Height Actually Matters for Water
Inside the shower, tile height is partly regulated. Florida’s residential code requires shower walls to have a smooth, hard, nonabsorbent finish, such as tile, to a height of at least 6 feet above the floor, and the plumbing code sets a similar minimum above the drain. Many showers go to about 7 feet or to the ceiling, particularly with tall shower heads, rain heads or steam.
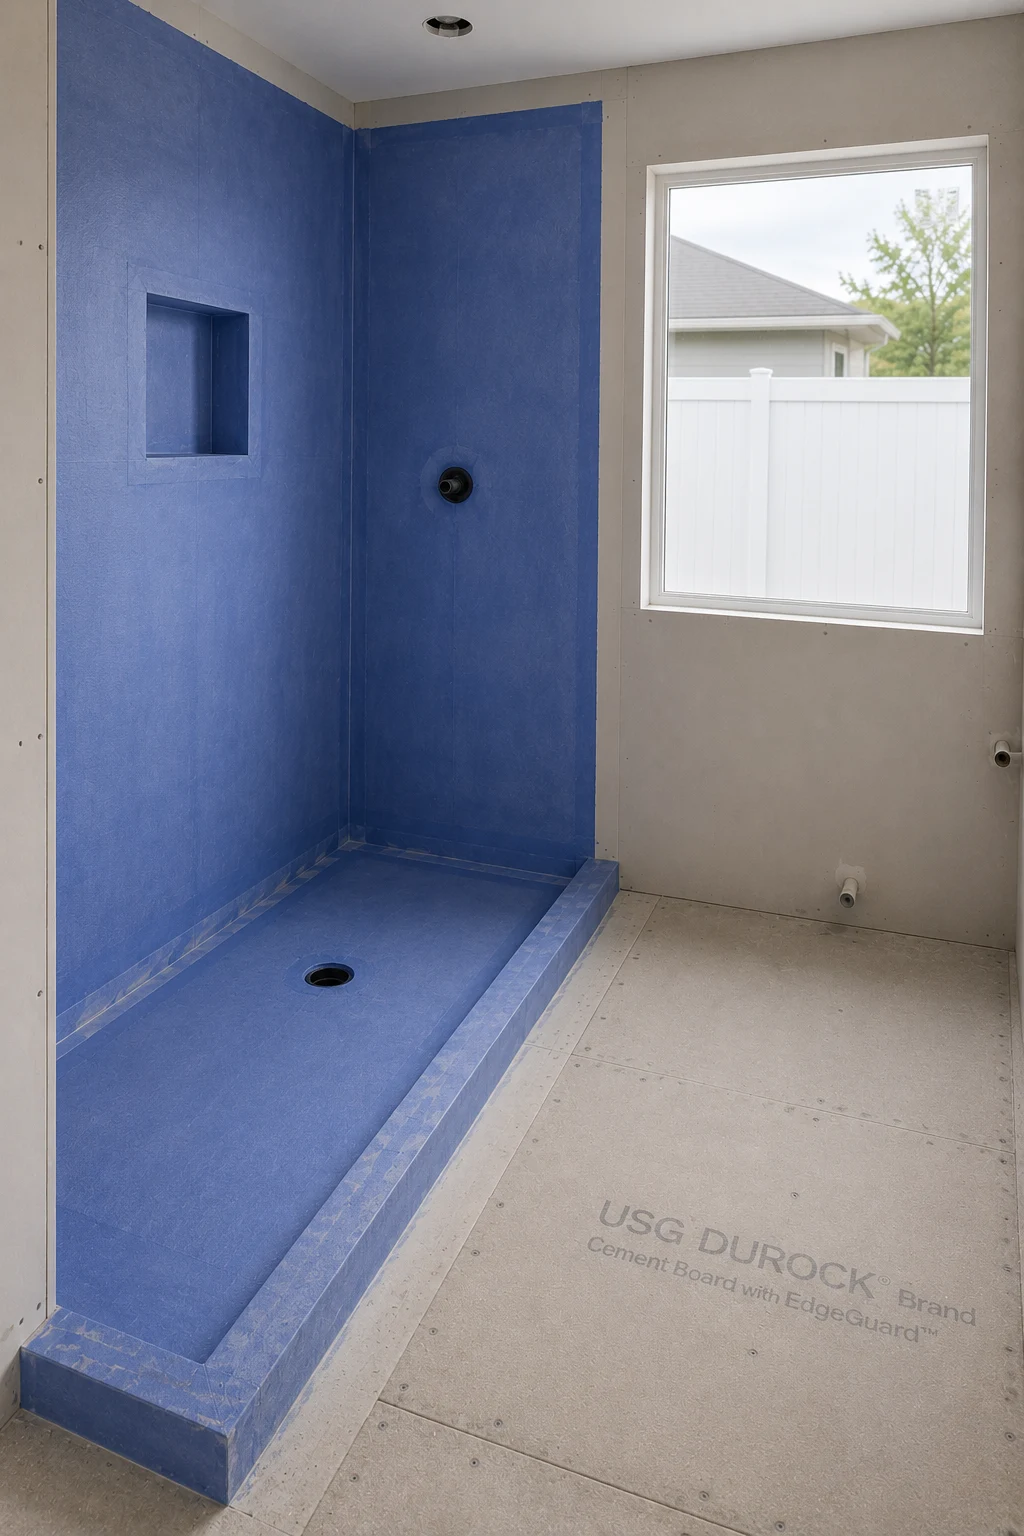
What keeps water out of the wall, though, is not the tile. Grout passes water, so the membrane behind the tile does the work, and it should extend at least as high as the tile and cover every area that gets wet; the membranes and pans behind shower tile are a separate decision from the tile itself.
Outside the shower, tile protects walls from splashes: behind the vanity, around a freestanding tub and near the toilet. A tile base at the floor protects walls from mopping. Beyond that, height is aesthetics and ease of cleaning.
Shower Ceiling Tile
Tiling the shower ceiling gives a finished, enclosed look and suits steam showers, where the ceiling gets wet and is often sloped to shed condensation. Ceiling tile is harder to install, heavier and requires waterproofing overhead too. For ordinary showers, a painted ceiling with bathroom-rated paint and good ventilation works, provided the exhaust fan removes steam effectively.
Accent Tile and Budget
Accent tile, such as a mosaic band, a feature niche or a patterned wall, often costs much more per square foot than field tile. Using it in a small, focused area, like the niche back, a band at eye level or the wall behind the vanity, gets most of the visual effect for a fraction of the cost of tiling large areas in premium tile.
Wet Room and Full-Wet-Wall Approaches
A wet room treats the whole bathroom, or a large part of it, as a waterproofed zone, with the shower open to the room and the floor sloping to a drain. It suits curbless designs and small bathrooms, where a separate shower enclosure would crowd the space. The whole floor and lower walls, and often all walls, are waterproofed and tiled.
A full wet wall tiles and waterproofs the entire wall that contains the shower and tub, floor to ceiling, even beyond the shower enclosure. It creates a continuous surface that is easy to clean and visually unifies the fixtures.
Both approaches need careful slope, drains and waterproofing detailing, and they reduce the places where painted drywall meets wet surfaces.
Large Format Tile and Lippage
Large-format tiles, generally tiles with any side of 15 inches or more, reduce grout lines and look clean, but they magnify unevenness. Lippage is the difference in height between the edges of adjacent tiles. The industry standard for tile installation sets allowable lippage based on the tile and grout joint size, plus the tile’s own warpage, and large tiles need flatter substrates to meet it.
Layout matters too. For rectangular tiles with a long side over 18 inches, industry guidance generally limits the offset in a running-bond pattern to about one-third of the tile length, because many large tiles have a slight curve that shows as lippage at a half offset. Leveling systems and properly flattened walls help, but they cannot fully correct a wall that is out of plane.
Choosing Tile Materials for Bathroom Walls
- Porcelain is dense, absorbs very little water and comes in large formats and stone or concrete looks. It is the most common choice for shower walls and floors.
- Ceramic wall tile is lighter and easier to cut, often glazed, and suits walls and backsplashes; many ceramic tiles are not rated for floors.
- Natural stone such as marble or travertine is porous and needs sealing and gentle cleaners; acids and some bath products can etch it.
- Glass mosaics add color and reflect light but show water spots and need careful installation with the right setting materials.
The tile manufacturer’s rating for walls, floors and wet areas should match where the tile is used.
Planning the Layout Before Ordering
Tile layouts are worth drawing before ordering. A simple drawing of each wall shows where full tiles land, where cuts fall at corners and around the niche and window, and how the pattern lines up with the vanity, the glass and the ceiling. Ordering extra tile for cuts and breakage, commonly around 10 percent more for straight layouts and more for diagonal or herringbone patterns, and buying all tile from the same production lot keeps color consistent. Trim pieces, such as bullnose and profiles, are ordered at the same time.
Grout Color and Epoxy Grout
Grout color changes the look as much as the tile. Grout that matches the tile makes the surface read as one plane; contrasting grout emphasizes the pattern and shows every line. In showers, lighter grout shows staining and discoloration sooner, while mid-tone grays hide them better.
Cementitious grout is the standard, easy to work and repair, but porous and prone to staining, so it is often sealed. Epoxy grout resists stains and chemicals and does not need sealing, which suits shower floors and wet areas. It is harder to install, cleans up differently and costs more. Some modern single-component grouts fall between the two. Whatever the grout, it is not waterproofing.
Niche, Bench and Accent Placement
Niches hold shampoo and soap without a corner caddy. Placement matters: on a wall that is not in the direct spray, at a height reachable standing and from a seat, and ideally on an interior wall rather than an exterior one, where insulation and moisture behave differently. Sizing niches to the tile grid, so tiles do not end in slivers around the edges, makes them look planned. Niches and benches must be waterproofed and sloped to drain.
Benches can be built-in or floating, and are useful for comfort and safety. Accent bands and feature tiles look best aligned with fixtures, niche edges or the glass line, rather than floating at random heights.
Tile Around Windows in Showers
Windows inside showers are common in older Florida homes and are a frequent leak point. Tile and waterproofing have to wrap the window return, the sill must slope toward the shower so water drains off, and the window frame itself should suit a wet location. Where a remodel allows it, relocating the window or using obscure, water-resistant units reduces the risk.
Layout Patterns That Photograph Well and Wear Well
Patterns that tend to age well include stacked vertical or horizontal layouts, which look clean and modern; running bond with limited offsets on large tiles; herringbone on floors or feature walls; and simple mosaics on shower floors for grip. Planning the layout from the most visible wall and the center of the shower avoids small cut pieces at the edges and around the niche.
What looks good in photos can be hard to live with: very glossy tiles show water spots, highly patterned tiles can overwhelm small rooms, and dark grout on light tile highlights every line. Samples viewed in the bathroom’s actual light help.
Transition to Painted Drywall
Where tile stops and paint begins, the edge needs finishing. Options include bullnose tile, metal or PVC edge profiles, and pencil or chair-rail trim pieces. A clean, straight termination line, aligned with fixtures or the top of the vanity or door casing, makes partial-height tile look intentional. The painted wall above needs a moisture-resistant finish, since keeping a Florida bathroom dry after showers depends on paint as well as the fan.
Tile Maintenance in Humid Bathrooms
Tile itself needs little care, but grout and caulk do. Regular cleaning with a pH-neutral cleaner, a squeegee after showers and good ventilation keep grout from darkening. Cementitious grout benefits from resealing on the sealer manufacturer’s schedule, while epoxy grout does not need sealing. Caulk at inside corners and around the tub or pan is replaced when it cracks or stains. Stone tiles need cleaners made for stone, since acidic products can etch them.
Movement Joints
Tile installations need to accommodate movement from temperature, moisture and building settlement. The Tile Council of North America’s guidance calls for movement joints at perimeters and changes of plane, such as inside corners, where walls meet floors and around tubs, filled with flexible sealant rather than grout. Grout in these joints tends to crack. Using a sealant color that matches the grout keeps the joints inconspicuous.
Tile height, pattern and trim are decided together with the glass, since glass hardware mounts through the tile and frameless panels are cut to the finished tile.
Floor tile for the rest of the house is a separate choice that belongs to the flooring plan.
Within the bathroom, tile height and layout are settled while the bathroom remodel is designed, before any tile is ordered.
Share this article