The short answer
A curbless shower is possible in most Central Florida slab homes, but it is rarely a simple swap. The shower floor has to slope to a drain while the entry stays level with the bathroom floor, which means either recessing the slab where the shower sits or raising the bathroom floor around it. Each approach has structural, plumbing and cost implications, and post-tensioned slabs need special care before any cutting.
Linear drains, correct slope, a continuous waterproofing system that extends beyond the shower area and well-planned glass keep water where it belongs without a curb. Curbless showers cost more than standard curbed showers because of the slab work, drain and waterproofing, and they deliver easier access and a more open look.
Key takeaways
- Code requires the shower floor to slope to the drain; without a curb, that slope has to come from a lower shower floor or a higher room floor.
- Recessing a slab means cutting concrete. Post-tensioned slabs require the tendons to be located first.
- Linear drains let the floor slope in one direction and suit curbless entries.
- Waterproofing should extend past the shower opening, since water can reach the bathroom floor.
- The ADA governs public places, not private homes; for homes, accessibility is a design goal rather than a legal checklist.
What Curbless Actually Requires
A standard shower has a curb, a raised lip at the entry that holds water in and lets the shower floor slope to the drain within its own height. A curbless shower removes that lip so the bathroom floor flows into the shower without a step.
Removing the curb does not remove the need for slope; the code still expects a shower floor to fall to its drain within a set range per foot. Without a curb, that slope has to fit between a flush entry and a lower drain, which means the shower floor, at its lowest point, sits below the level of the surrounding bathroom floor. Creating that depth is the core problem of any curbless shower.
The shower must also meet the code’s minimum size, at least 900 square inches of floor with at least 30 inches in its smallest dimension, and in practice curbless showers work best when they are larger than that, since a bigger area helps contain water without a curb.
The Slab Problem and Three Solutions
On a slab-on-grade house, the shower floor rests directly on concrete. There is no space between joists to lower the floor, so depth has to be created in one of three ways.
Slab Recess Cutting
The concrete where the shower will sit is saw-cut and removed to a set depth, creating a recess. The drain is set in the recess, and the shower floor is built up inside it with the required slope, so the finished shower floor meets the bathroom floor at the entry.
This is the cleanest result but involves cutting the slab, which adds cost, dust and structural considerations. Many Central Florida slabs are post-tensioned, with steel tendons under high tension embedded in the concrete. Cutting into one without locating the tendons first, typically with ground-penetrating radar, risks cutting a tendon, which is dangerous and can compromise the slab. Slab recesses should be planned with that check, and in some cases with an engineer’s input, before demolition.
Raised Floor Approach
Instead of lowering the shower, the rest of the bathroom floor is raised, with a thicker mortar bed, a leveling system or a raised subfloor, so the shower floor can slope down to the drain while the entry stays level. This avoids cutting the slab but creates a step or transition where the bathroom meets the hallway or bedroom, which may defeat the purpose if the goal is a step-free home. Door clearances and toilet flange heights also change.
Trench Drain at the Threshold
A variation places a linear or trench drain at the shower entry, across the full width. The shower floor slopes toward the entry drain, and the bathroom floor slopes slightly toward it from outside. This reduces the depth needed and catches water at the threshold, though the drain is in the walking path and the floor outside the shower is part of the wet zone.
Linear Drains and Slope Design
Linear drains are long, narrow drains placed along a wall or at the entry. They let the shower floor slope in one plane toward the drain, instead of from all four sides toward a center drain. That single slope suits curbless showers, allows large-format floor tiles and makes the transition at the entry cleaner.
Placement matters. A drain at the back wall keeps water away from the entry but requires the entry to be the high point, which increases the depth needed at the back. A drain at the entry, as a trench drain, reduces depth but puts the drain in the path. Center drains can still work in large recessed curbless showers, with the floor sloping from all sides.
Whichever drain is used, the slope has to fall within the code’s range and the drain must be compatible with the waterproofing system.
Waterproofing a Zero-Entry Pan
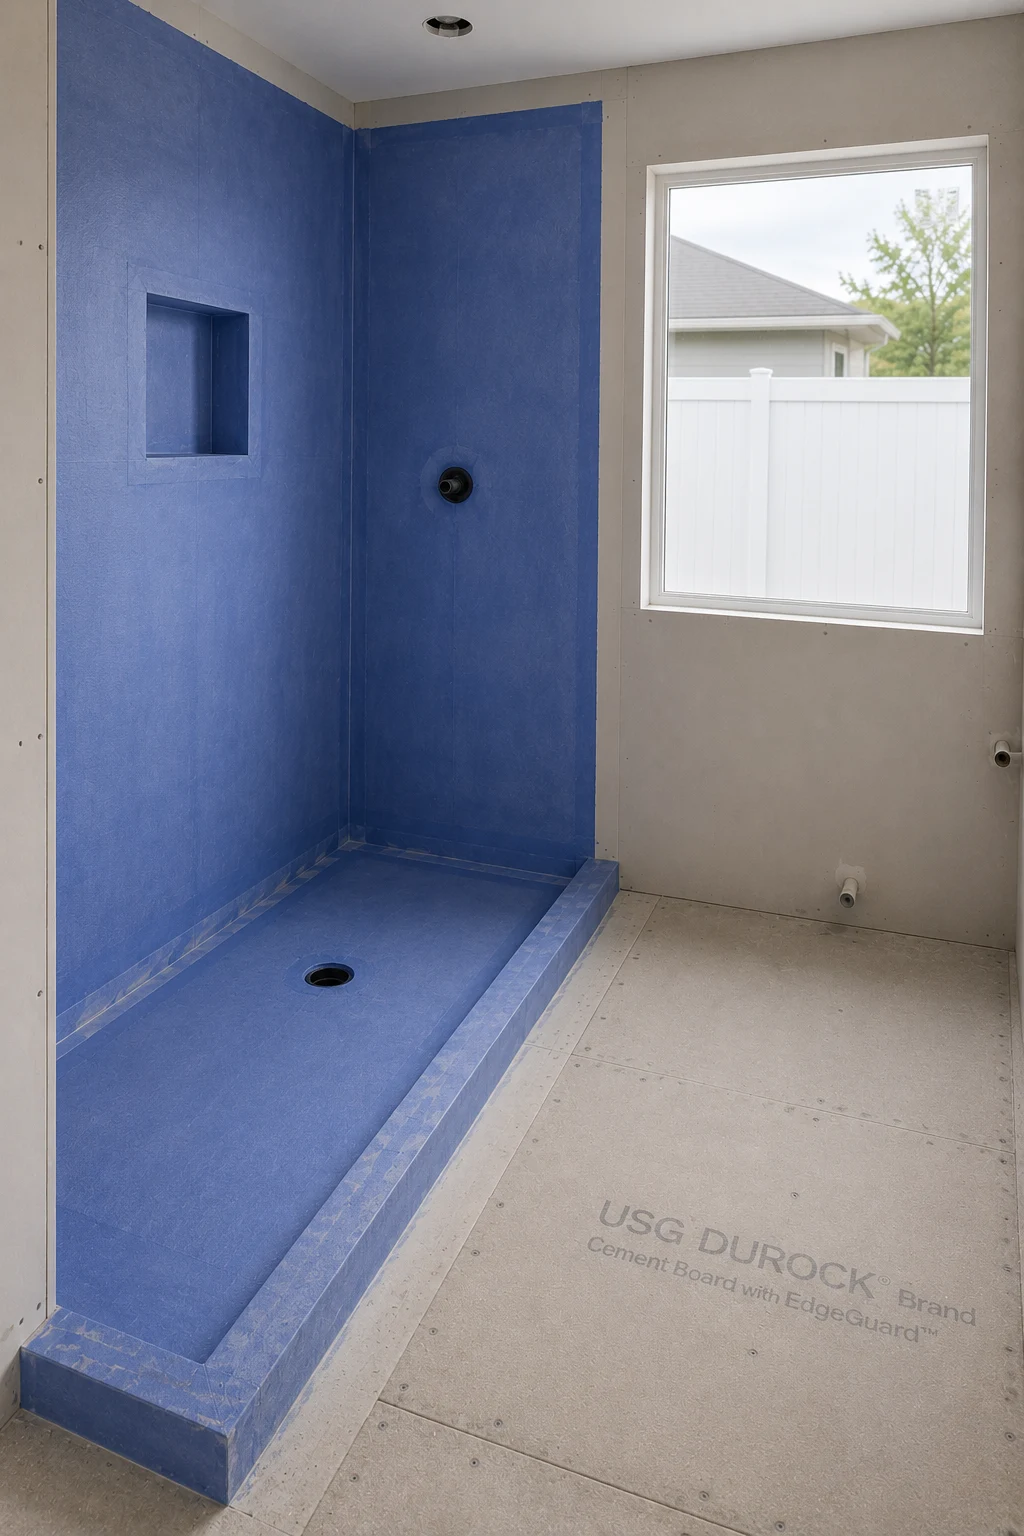
In a curbed shower, the curb is the boundary of the waterproofing. In a curbless shower, there is no curb, so the waterproofing has to continue beyond the shower area into the bathroom floor, commonly a few feet past the entry or across the whole bathroom floor. Water that splashes or runs past the shower opening then lands on waterproofed floor rather than on unprotected materials.
Bonded sheet and liquid membranes, used with drains designed for them, make that continuous waterproofing easier. The details that fail in any shower, corners, the drain connection, penetrations, apply here too, along with the transition from the recessed area to the level floor, and the weak points in shower waterproofing are the same ones to watch.
Containing Water Without a Curb
Without a curb, water containment comes from design:
- Slope and drain placement that direct water away from the entry.
- Shower size: longer, wider showers give water more distance to reach the drain.
- Fixed glass panels that block spray, and shower heads aimed away from the opening.
- An entry opening positioned at the far end from the shower head.
- Slip-resistant tile on the shower and bathroom floor, since some water will reach both.
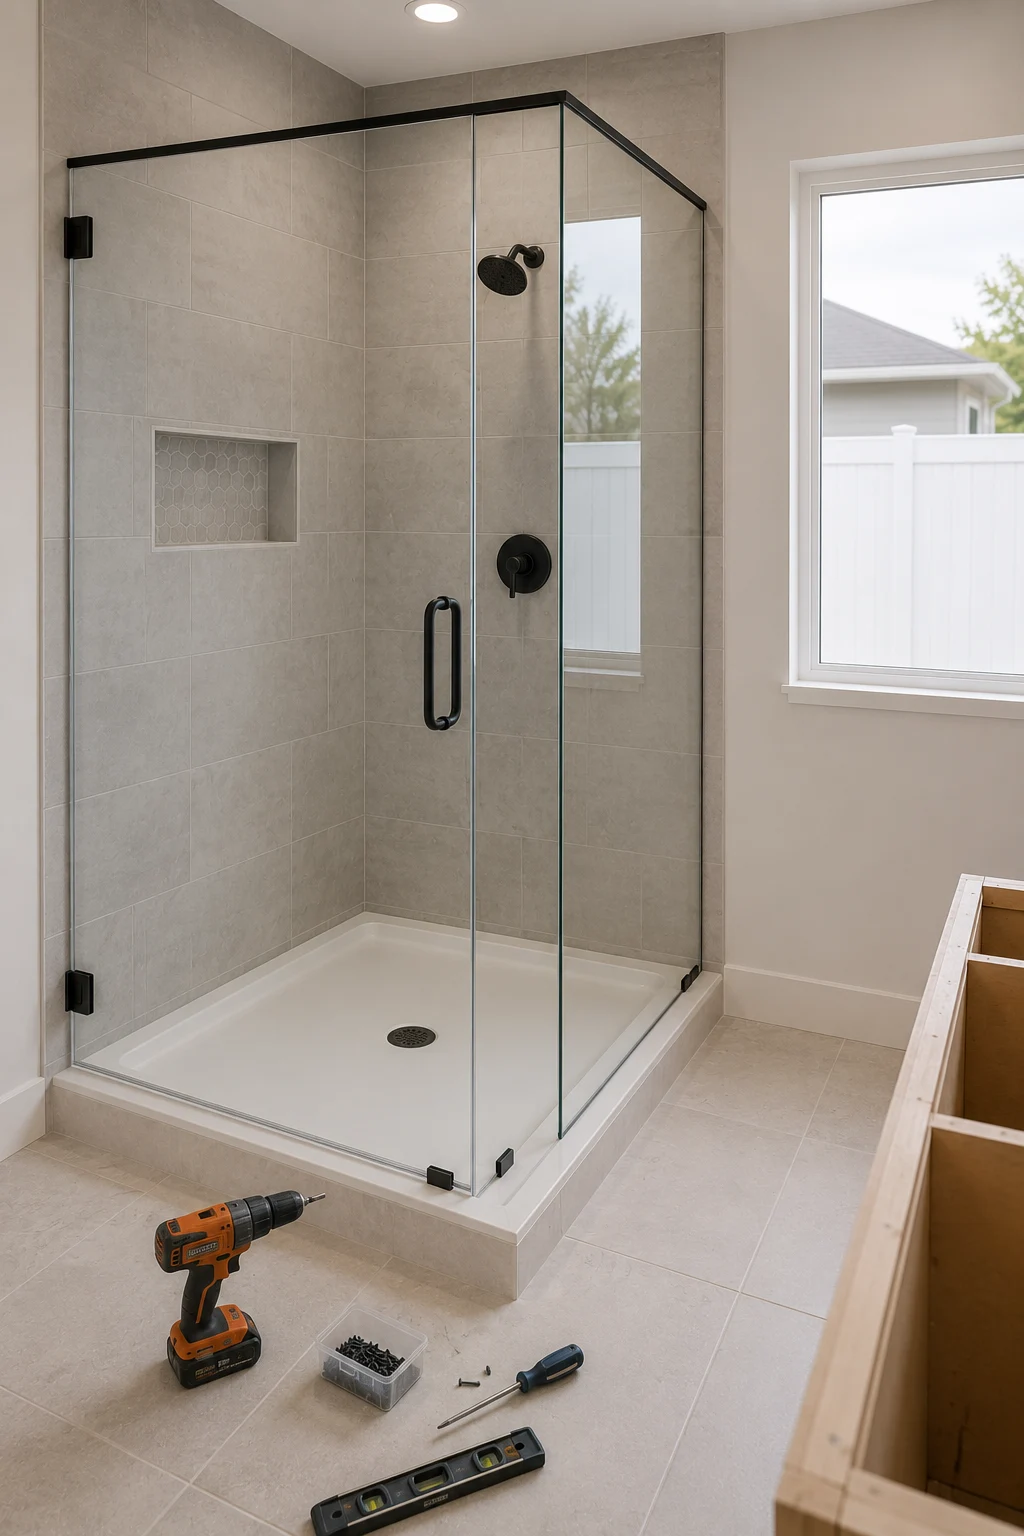
Doors on curbless showers need to clear the floor and may need sweeps or seals that suit a flush entry. How much a fixed panel or a door has to do without a curb is part of selecting frameless glass.
Aging in Place and Accessibility Clearances
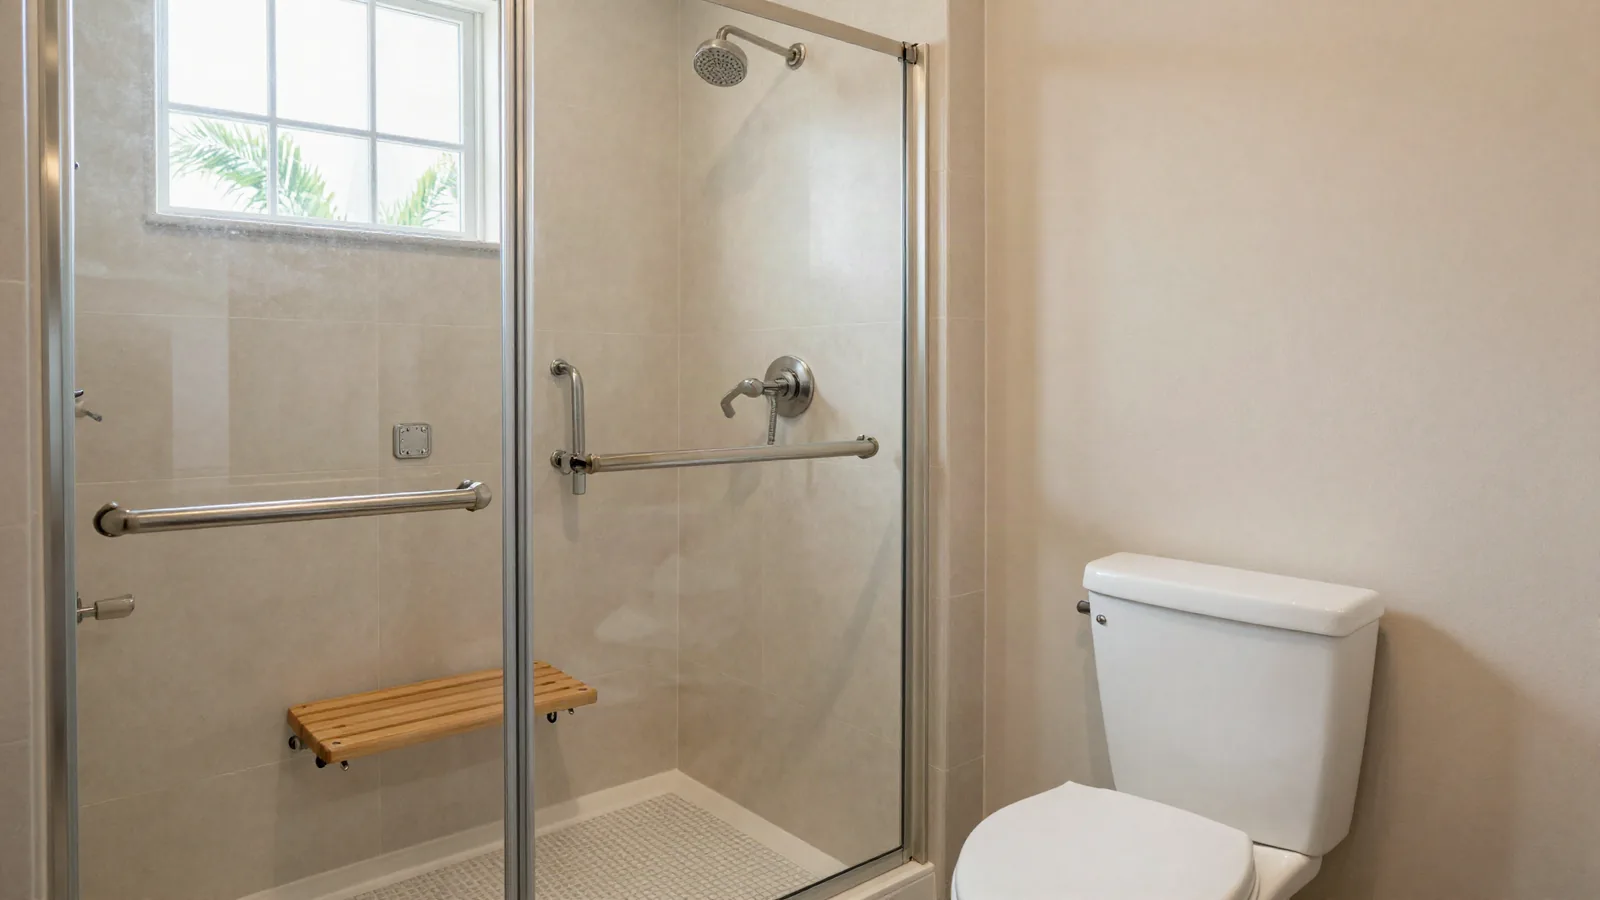
Curbless showers are central to accessible bathroom design because they remove the step that becomes a barrier with age, injury or a wheelchair. It helps to be precise about standards. The Americans with Disabilities Act sets requirements for public accommodations and commercial facilities, not for private single-family homes. Its standards, such as a 30-by-60-inch minimum roll-in shower and thresholds no higher than 1/2 inch, are useful reference points for designing an accessible home shower, but a private home is not “ADA compliant” or noncompliant in the legal sense.
For homes, the goal is usability: a clear, level entry, enough room to turn, a seat, a handheld shower and grab bars where they will be needed. Those elements, and how they fit together, are covered in the guide to aging-in-place bathrooms.
Tile and Floor Choices for a Curbless Shower
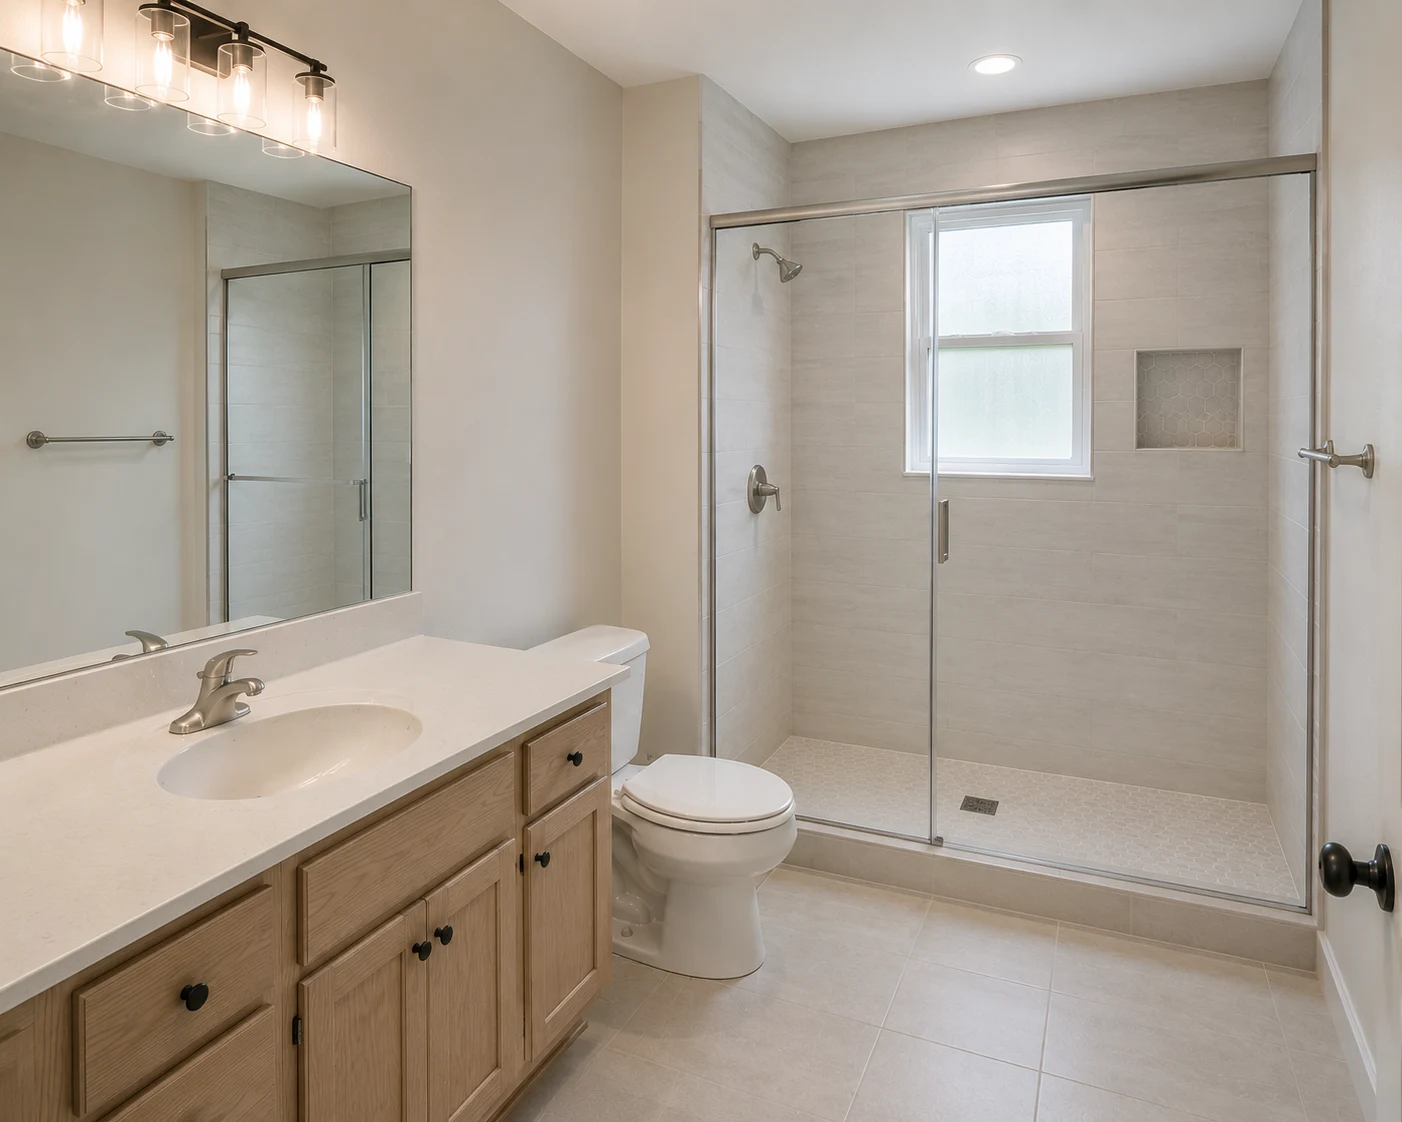
Curbless showers often run the same floor tile from the bathroom into the shower, which makes the room feel larger. That works when the tile is suitable for a wet, sloped floor: slip-resistant enough for the shower, and in a size that can follow the slope. Large tiles work best with linear drains, where the floor slopes in a single plane; center drains with four-way slope usually need smaller tiles or mosaics that can follow the folds of the floor. Some designs switch to a mosaic inside the shower in a matching color, which adds grip and still looks continuous.
Planning Sequence
A curbless shower in a slab home follows a more involved sequence than a standard shower:
- Design the shower size, drain type and location, glass and floor finish together.
- Scan the slab for post-tension tendons and plumbing before any cutting.
- Cut and remove concrete for the recess, or plan the raised floor.
- Rough-in plumbing for the drain and valve, then inspection.
- Build the sloped bed and install the waterproofing, extended into the bathroom floor.
- Flood test the waterproofing.
- Tile, then measure and install glass.
Skipping the design step, or deciding on curbless after the slab is poured back, is how projects end up with a small step at the entry after all.
Doors, Thresholds and the Rest of the House
A step-free shower is most useful when the route to it is step-free too. Raising a bathroom floor can create a threshold at the bathroom door, and flooring changes in hallways can add small lips. Planning the bathroom floor height with the adjoining floors, and choosing low transitions, keeps the whole path level.
Is Curbless Right for Every Bathroom?
Curbless showers are not ideal everywhere. Very small bathrooms may not have room for a shower large enough to contain water without a curb or door. Households with young children who splash may find a curbed shower easier. Linear drains need occasional cleaning of hair and debris from their channels, and the extended waterproofing and slab work add cost that some projects cannot justify. For owners focused on accessibility, a very low threshold, rather than a completely flush entry, can be a practical compromise when a full recess is not feasible.
Cost Premium Over a Standard Shower
A curbless shower costs more than a standard curbed shower of the same size, for predictable reasons:
- Slab work: cutting, removing and patching concrete, and locating tendons first where needed.
- The drain: linear drains cost more and take more precise installation.
- Extended waterproofing into the bathroom floor.
- Floor changes: new bathroom flooring to match the flush entry, and sometimes raised floors or thresholds elsewhere.
- Glass designed for a flush entry.
The exact premium depends on the slab, the size of the recess and how much of the bathroom changes. Planning curbless from the start of a remodel, rather than converting a finished standard shower later, avoids paying for waterproofing and tile twice.
Building a curbless shower in a slab home is a planning decision as much as a tile job: the slab, drain, waterproofing and glass have to be designed together. It is part of bathroom remodeling, with plumbing done by a licensed plumber and any slab cutting preceded by a check for post-tension tendons.
Share this article