The short answer
Planning a kitchen remodel is a sequence, and the order matters more than any single choice in it: define the problem you are solving, decide the level of change, set a budget that includes a contingency, fix the layout and clearances, choose cabinets, then specify appliances, plumbing, ventilation and lighting before anything is ordered. Permits, HOA approval and a temporary kitchen go on the calendar at the same time, not later.
Expect four to eight months from first idea to final walkthrough, of which only six to ten weeks is construction. The rest is decisions and lead times — which is exactly why a kitchen that is planned to the last outlet finishes on schedule, and one that is planned to the countertop does not.
Key takeaways
- Decide the level of change — finishes, same footprint, or moved walls and plumbing — before discussing budget or style. Everything else follows from it.
- Cabinets set the calendar. Lead times run from about a week for stock to four months for custom, and the order cannot be placed until appliances are chosen.
- Layout is decided by clearances, not by pictures: 42 to 48 inches of aisle, 15 inches of landing space, and a real path from refrigerator to sink to range.
- Budget by scope and hold 10 to 15 percent in contingency. In older Central Florida homes the surprises are behind the walls, not in the showroom.
- Permits, HOA architectural review and inspections are calendar items with real durations, and in many communities the association review starts before the permit does.
- A written plan for cooking, dust and the rest of the house through six weeks without a kitchen prevents most of the mid-project changes that cost money.
What planning a kitchen remodel actually decides
Kitchen projects rarely go wrong during construction. They go wrong weeks earlier, in a decision that was made too late, made twice, or never made at all — a cabinet order placed before the appliances were chosen, a wall opened before anyone checked what was inside it, a countertop templated on Friday for an island that moved on Monday. Construction is where those decisions become expensive. Planning is where they are still free.
Planning is a sequence, not a collection of preferences
Almost everyone starts a kitchen the same way: saved images, a colour direction, a cabinet door style. None of that is wasted, but none of it is a plan either, because every one of those choices depends on decisions that have not been made yet. A door style cannot be priced until the cabinet tier is set. The cabinet tier cannot be set until the layout is fixed. The layout cannot be fixed until you know whether walls and plumbing are moving. And that question cannot be answered until you have decided what problem the remodel is actually solving.
Run the sequence in the right order and each decision narrows the next one. Run it backwards and every decision reopens the last three.
Two calendars run at the same time
A kitchen has a decision calendar and a construction calendar, and they overlap far less than people expect. Construction — demolition to punch list — is typically six to ten weeks. The decision calendar in front of it is usually three to five months, and most of that time is not spent deciding. It is spent waiting for cabinets to be built, for a permit to be reviewed, for stone to be fabricated.
That asymmetry is the single most useful thing to understand before you start. The way to finish a kitchen on schedule is not to build faster. It is to make every decision early enough that the waiting periods run in parallel instead of one after another.
Step 1 — Diagnose the kitchen you already have
Before drawing anything, spend a week paying deliberate attention to the room. Not to how it looks; to how it fails. Where do two people collide? Where does the counter fill up? Which cabinet do you avoid because reaching into it means kneeling? Where do groceries land, and how far is that from where they are stored?
Most homeowners arrive with one sentence — “the kitchen is dated” — that turns out to be three separate complaints hiding behind each other: not enough storage, a layout that fights the way the household actually cooks, and finishes that look tired. They have very different price tags. Finishes are the cheapest problem in a kitchen and the one people over-diagnose, because it is the one you can see.
Write down what must not change
The constraints list is as valuable as the wish list, and shorter. The window that gives the room its light. The sightline to where children do homework. The doorway to the garage that carries every bag of groceries. The distance from the range to the dining table on the evening you cook for twelve. Naming these before design starts prevents the most demoralising moment in a remodel: a beautiful plan that quietly deletes the thing you liked most about the room.
Separate needs from sequencing
Some kitchen complaints are not kitchen problems. Overflow pantry storage is often better solved in a converted garage than by stealing eighteen inches from a work aisle. A dining crowd that never fits may be an outdoor living question in a climate where the answer works ten months a year. Deciding this early keeps the kitchen budget aimed at the kitchen.
Step 2 — Decide the level of change before anything else
This is the fork that determines cost, calendar, permit path and disruption all at once. Everything downstream inherits it, and it is the first question any experienced remodeler will ask.
| Finishes only | Same footprint | Adjusted footprint | New footprint | |
|---|---|---|---|---|
| What changes | Paint, hardware, backsplash, lighting fixtures | New cabinets and counters in the same positions | Sink, range or island relocated within the room | Walls removed, room opened to living space |
| Plumbing and electrical | Fixture swaps only | Minor updates, circuits usually reused | Rough-in relocated, new circuits added | Full rough-in, panel capacity checked |
| Permit likely | Rarely | Sometimes | Almost always | Always, plus structural review |
| Typical construction window | 1–2 weeks | 4–6 weeks | 6–9 weeks | 8–14 weeks |
| Where the risk sits | Almost none | Condition of existing walls and floor | What is found inside the walls | Structure, load paths, engineering |
The honest advice for most households is to resist the middle drift. A project that starts as “same footprint” and acquires a relocated sink, a new island and a widened opening one decision at a time ends up costing what a planned adjusted-footprint project would have cost, without ever having been designed as one. Choose the level deliberately, then design inside it.
Step 3 — Build a budget that survives contact with the project
Set the budget as a range attached to a scope, never as a number attached to a feeling. Then allocate it before selecting anything, because the fastest way to lose control of a kitchen is to choose the countertop first and discover what is left afterwards.
| Line item | Share of total | What moves it |
|---|---|---|
| Cabinetry and storage | 25–35% | Tier, box construction, interior fittings |
| Labor and installation | 15–20% | Scope level, access, condition of the existing house |
| Appliances | 10–15% | Panel-ready and pro-style ranges move this fast |
| Countertops | 8–12% | Material, edge profile, slab quantity, cutouts |
| Flooring | 5–8% | Whether the floor extends beyond the kitchen |
| Electrical and lighting | 5–8% | Circuit count, recessed layout, panel upgrades |
| Plumbing and fixtures | 4–8% | Relocations, filtration, pot filler |
| Design, permits, dumpster | 3–5% | Scope level and jurisdiction |
| Contingency | 10–15% | Age of the home, more for slab plumbing work |
Read the table as proportions rather than prices. Its use is diagnostic: if cabinets are consuming half the budget, either the scope is small or the tier is high for the project, and both are worth knowing before the order is placed.
One structural budget decision is worth making at this stage rather than later: whether the flooring stops at the kitchen or runs continuously into the rest of the house. Matching a floor later, to a product that may be discontinued, is one of the most common regrets we hear — and it is far cheaper to extend a floor while the crew, the trim and the dust containment are already in place.
Step 4 — Get the layout right before you get it beautiful
Layout is where a kitchen is won, and it is decided by dimensions rather than by images. A plan that violates clearances will look correct on paper and feel wrong every day for fifteen years.
The numbers that decide whether a layout works
- Work aisles: 42 inches for one cook, 48 inches when two people work at once. Below 36 inches, a dishwasher door and a person cannot share the space.
- Walkways through the kitchen: 36 inches minimum, more where a route to a slider or laundry runs through the room.
- Landing space: at least 15 inches of counter beside the refrigerator handle, 15 inches on the open side of the range and 12 on the other, and 24 inches on one side of the sink.
- Seated overhang: 15 inches of knee depth and 24 inches of width per seat at a standard-height island. Two of the three usually get compromised — do not compromise the depth.
- Appliance doors: open every one of them in the drawing. Dishwasher against a corner cabinet and refrigerator doors that collide with an island are the two that survive into construction most often.
Zones beat the working triangle
The classic sink-range-refrigerator triangle still matters in a small closed kitchen. In the open plans typical of newer Central Florida homes — where the kitchen is one end of a room that includes dining and living — it describes too little. Think in zones instead: a prep zone with counter and waste, a cooking zone with landing on both sides, a cleaning zone with the dishwasher on the correct hand, and a staging zone near the entry where groceries and school bags actually land.
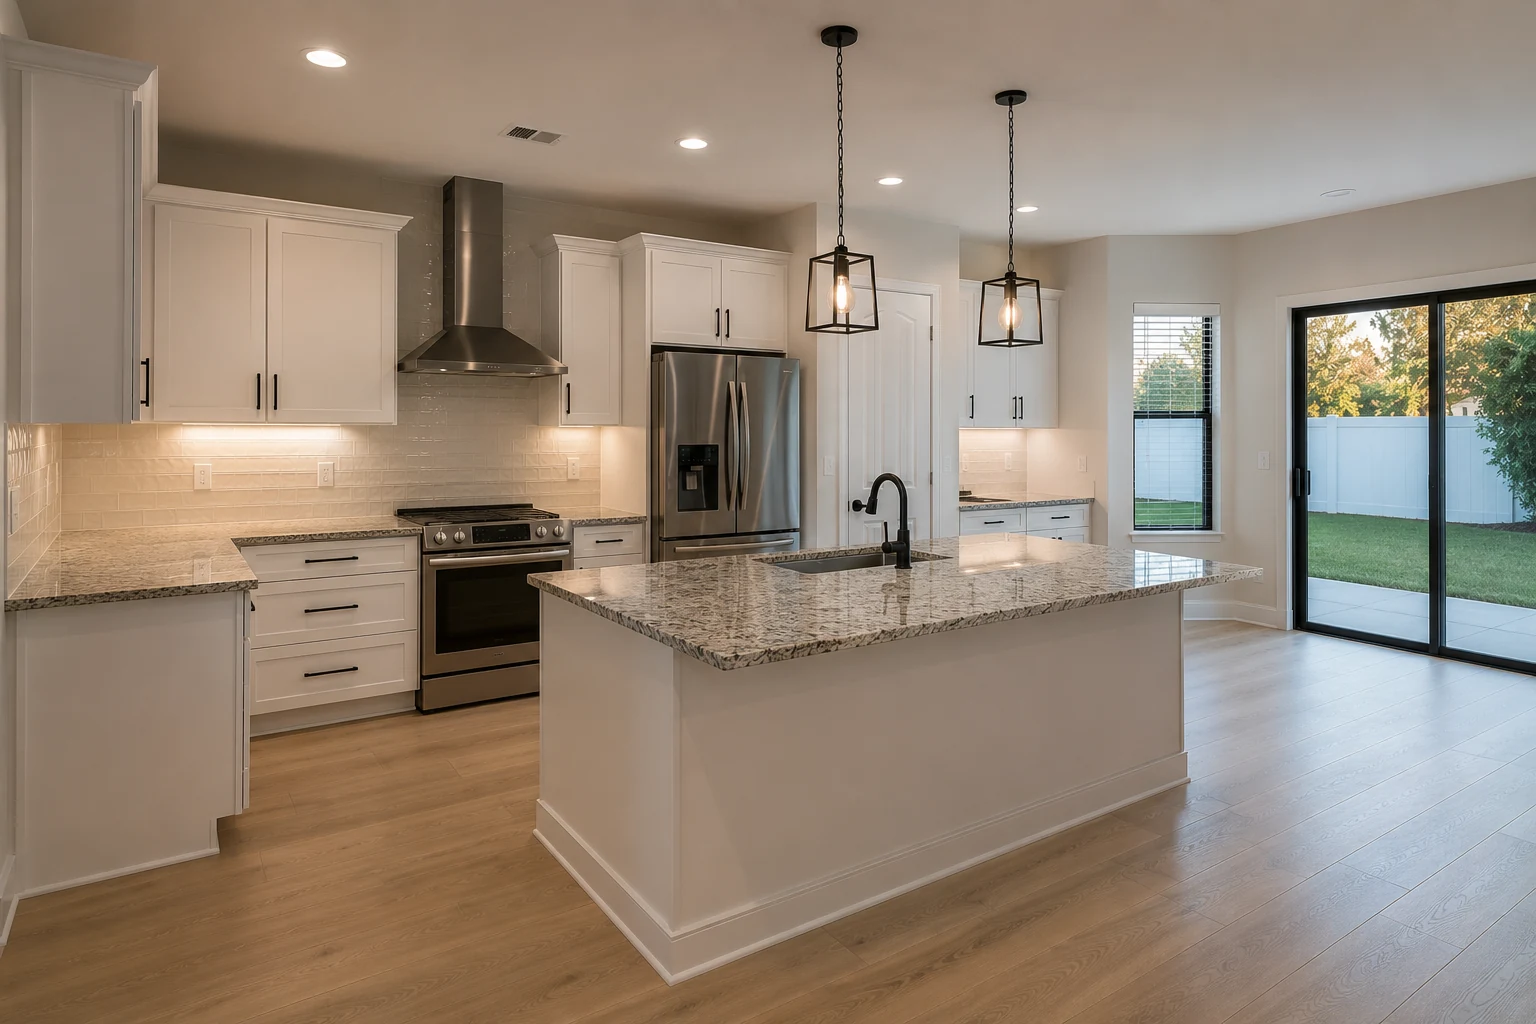
The island is the most requested and most over-scaled element in kitchen planning. It needs clearance on every side it is used from, so a room narrower than about thirteen feet usually gains more from a peninsula or a longer run of counter. And if a sink or cooktop goes in it, drainage and electrical have to come through the slab or the ceiling — which quietly moves the project up a level in Step 2. Aisle, seating and overhang dimensions are set out in the kitchen island planning guide.
Step 5 — Cabinets set the calendar, so decide them early
Cabinets are the largest line item, the longest lead time and the constraint every other trade works around. In practice, the date cabinets arrive is the date the project can finish, counted backwards.
| Stock | Semi-custom | Custom | Refacing | |
|---|---|---|---|---|
| Typical lead time | 1–3 weeks | 6–10 weeks | 10–16+ weeks | 2–4 weeks |
| Sizing | Fixed increments, filler strips absorb the rest | Fixed boxes with modified widths and depths | Any dimension, built to the room | Existing boxes kept exactly as they are |
| Best suited to | Rentals, secondary kitchens, tight budgets | Most family kitchens | Awkward rooms, specific storage, tall ceilings | Sound boxes and a layout that already works |
| Main limitation | Wasted inches and generic interiors | Options catalogue, not unlimited | Cost and calendar | Cannot fix layout or storage problems |
| Effect on schedule | Rarely the critical path | Usually the critical path | Always the critical path | Shortest route to a finished kitchen |
Refacing deserves a fair hearing rather than dismissal. When the boxes are solid, the layout already works and the complaint is genuinely cosmetic, it delivers most of the visual change in a fraction of the time. What it cannot do is change where anything is — so it is the right answer for a Step 2 “finishes only” project and the wrong one for every level above it.
Two ordering details matter regardless of tier: confirm the finished ceiling height and any soffit before boxes are specified, and settle hinge and drawer hardware early, since a soft-close upgrade after the order is placed is a change order rather than an option.
Step 6 — Lock appliances, plumbing, ventilation and lighting before rough-in
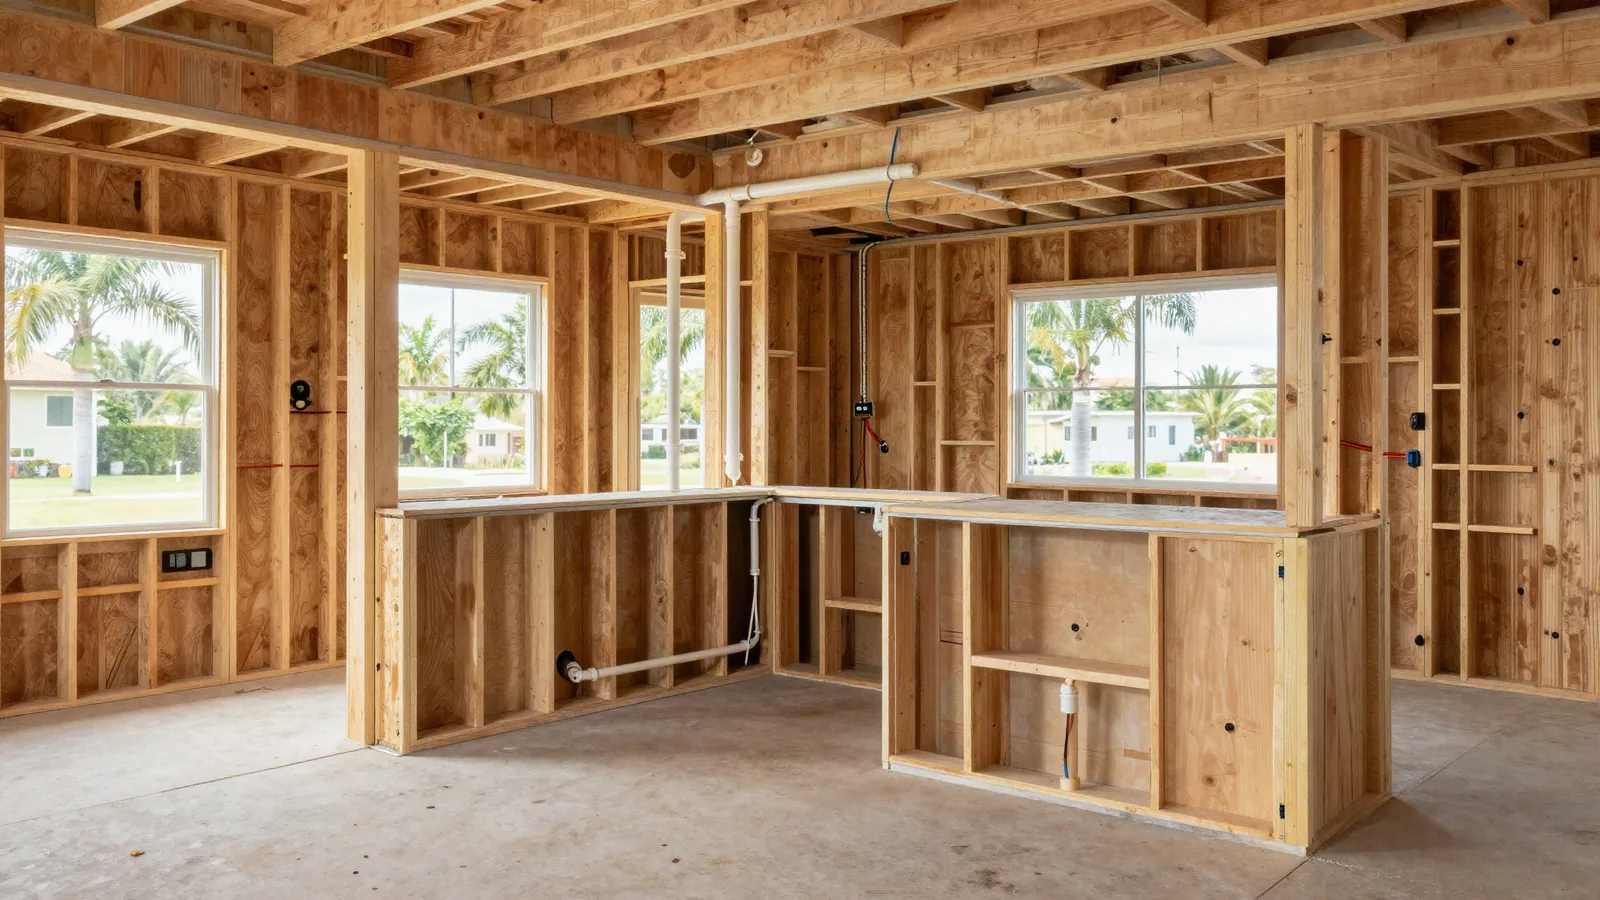
Rough-in is the point of no return. Once wiring and pipe are in the walls and inspected, moving them is demolition. Every specification below has to be settled before that week — not during it.
Appliances are a drawing input
Choose exact models, not categories. Cabinet openings are built to specific dimensions, and a counter-depth refrigerator that is two inches deeper than assumed, a slide-in range with a different backguard height, or a dishwasher requiring a taller panel will each cost either a cabinet modification or a visible compromise. If an appliance is being kept, measure it — the specification sheet for a ten-year-old model is not always what is standing in your kitchen.
Ventilation in a Florida kitchen is not optional
Size the hood to the cooking surface: roughly 100 CFM per 10,000 BTU of gas output, and a hood at least as wide as the range. Duct it outside — a recirculating hood moves humidity and grease around a house that is already fighting humidity, and in this climate that is a real difference rather than a preference. Hoods above 400 CFM can also bring make-up air requirements. Florida’s residential code exempts many single-family homes up to 800 CFM when there are no gravity-vented appliances in the living space, but a larger hood, or a house with such appliances, needs a make-up air solution — a mechanical decision with a cost, made before rough-in rather than discovered at inspection. The details are in how a range hood is sized and vented.
Lighting is an electrical deadline, not a finish
Kitchen lighting is planned in three layers: ambient recessed lighting on a grid that clears the upper cabinets, task lighting under the uppers on its own switch, and accent or decorative lighting over an island or table. All three are electrical rough-in decisions. Fixtures can be chosen later; the location of every can, switch and junction box cannot. The same applies to outlets — including the ones inside the island, in the pantry, and wherever a coffee station will live even if it does not exist yet. Fixture spacing, color temperature and controls are covered in planning kitchen lighting in layers.
While the walls are open is also the moment for anything else that needs them open: a relocated laundry connection, a data drop, or the plumbing shared with an adjacent bathroom that is scheduled to be remodeled within a few years anyway. Opening the same wall twice is the most avoidable expense in remodeling, and it is exactly why kitchens are so often planned inside a broader whole home remodeling scope rather than as an isolated room.
Step 7 — Put permits, HOA approval and inspections on the calendar
Approvals are not paperwork that happens somewhere in the background. They have durations, they have sequence, and one of them can stop the project on the morning demolition was scheduled.
In most Central Florida jurisdictions, replacing cabinets and countertops in place does not require a permit, while electrical, plumbing, gas and structural work does; Florida’s 2026 exemption for single-family work under $7,500 does not move that line, because it excludes those trades. A permit means inspections, which means rough-in cannot be covered until it has been signed off. Build one to four weeks of review into the plan, and treat the inspection dates as fixed points the schedule works around. Which parts of a kitchen fall on each side is covered in kitchen permits in Central Florida.
Community approval is a separate track. In the master-planned neighbourhoods around Horizon West and Lake Nona, an architectural review board may need to approve anything visible from outside — a new window, a relocated vent penetration, an exterior door — and associations in Winter Garden and across Orlando commonly restrict work hours, dumpster placement and contractor parking. In a townhome or condominium, expect rules about shared walls, water shut-offs and elevator use as well. None of this is difficult. All of it takes longer than people budget for, and it starts before the permit, not after.
Step 8 — Plan how you will live through it
The households that come through a remodel calmly are the ones that planned the six weeks without a kitchen as carefully as they planned the kitchen.
Build a temporary kitchen on purpose
Pick a location outside the work zone with power and, ideally, a water source: a laundry room, a dining corner, a garage, a covered lanai. Set up the refrigerator, microwave, kettle, air fryer and a folding table before demolition day rather than during it. Move a bin, a drying rack and a box of the utensils you actually use. If there is an outdoor kitchen or even a grill and a counter beside the pool deck, it becomes the most valuable square footage in the house for a month and a half.
Pack the kitchen in three groups: what goes to the temporary kitchen, what returns to the new one, and what you have not touched in two years and will not miss. The last group is worth its own trip — a remodel is the only moment when emptying every cabinet is already happening.
Dust, pets and the rest of the house
Agree in advance where the containment goes, which door the crew uses, where the dumpster sits and what the working hours are. Kitchen demolition produces dust that finds rooms nobody expected, so plan on covering adjacent furnishings, closing HVAC returns in the work zone and running a filter afterwards. Pets need a room with a door that closes, and small children need a route through the house that does not cross the work area.
Plan the finishing order, too. Interior painting of the adjacent rooms is far easier before the new kitchen goes in than around it, and the small repairs that surface during a remodel — a sticking door, a failing hose bib, a light switch nobody could ever explain — are worth collecting on a single list for a home services visit rather than interrupting the kitchen crew one item at a time.
A realistic timeline from first idea to final walkthrough
| Phase | Typical duration | Runs in parallel with |
|---|---|---|
| Diagnosis, wish list, constraints | 2–4 weeks | Early budget research |
| Scope and budget alignment | 1–2 weeks | — |
| Design and layout drawings | 3–6 weeks | Appliance and material selections |
| Selections finalised and signed | 2–4 weeks | End of design |
| Cabinet fabrication and delivery | 1–16 weeks by tier | Permit review, material ordering |
| Permit and HOA approval | 1–4 weeks | Cabinet fabrication |
| Demolition and disposal | 2–4 days | — |
| Rough-in and inspections | 1–2 weeks | — |
| Drywall, paint, flooring | 1–2 weeks | — |
| Cabinet installation | 3–7 days | — |
| Countertop template to installation | 1–2 weeks | Backsplash preparation |
| Backsplash, appliances, trim, lighting | 1 week | — |
| Punch list and final walkthrough | 2–5 days | — |
Four to eight months end to end for most kitchens, with construction occupying six to ten weeks of it. Two rows in that table are worth re-reading. Countertops cannot be templated until the cabinets are installed and level, so the one to two week fabrication gap is structural and cannot be compressed by ordering earlier. And cabinet lead time is the row that most often decides whether a project lands in March or in June — which is why Step 5 sits where it does in this sequence rather than after the finishes.
The planning mistakes that cost the most
- Choosing appliances after ordering cabinets. The most expensive sequencing error there is, and the easiest to avoid.
- Designing to a photograph instead of a dimension. The kitchen in the image is usually a larger room with a different ceiling height, different window placement and a different climate.
- Skipping the contingency. In a house older than twenty years, something behind the wall is going to want a decision.
- Letting scope grow one decision at a time. Three small additions during construction cost more than the same three planned in design, because each one interrupts a sequence that was already scheduled.
- Under-planning storage and over-planning surface. Counter square footage photographs well; drawer organisation is what changes how the room works on a Tuesday.
- Treating lighting as a shopping decision. Fixtures are shopping. Locations are electrical, and they close at rough-in.
- Leaving the floor for later. The transition between old and new flooring at a doorway is permanent, whether anyone decided it or not.
What to have ready before the first estimate conversation
You do not need to have designed the kitchen to get a useful estimate — you need to have decided the shape of the project. Four answers do most of the work: which level of change from Step 2 you are planning, whether cabinets are being replaced or refaced, which appliances stay and which go, and the budget range you are genuinely working with. Add a rough sketch with real measurements, a handful of images that show what you like and one honest sentence about what does not work today, and any experienced kitchen remodeling team can give you numbers that will still be true in three months.
Everything after that — door profile, stone, tile, hardware, paint — is design work, and design work is far easier when the frame around it has already been decided. That is the whole point of planning in this order: by the time the enjoyable choices arrive, none of them can quietly reopen a decision you already made.
Share this article